Content
How to customize main menu?
How to change the logo used in the menu?
Menu logo can be changed via customize option. To access Site Indentity go to Appearance > Customize > Header, Navigation > Header where you will be able to change/remove logo image.
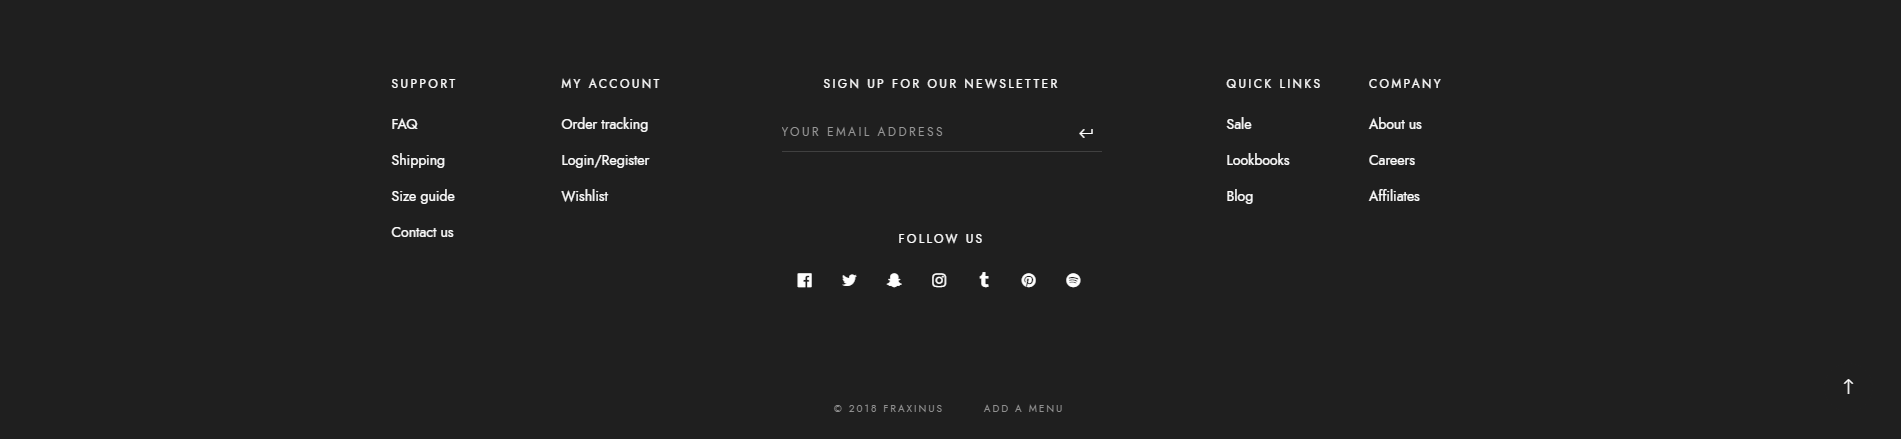
How to change background color of the footer section?
By going to Appearance > Customize > Header, Navigation > Navigation the settings allows to choose one of two available styles of the menu:
- White

- Transparent

How to change the color used in the Footer section?
The Fraxinus theme allow to choose one of two types of color for the footer section:
- White (default)
- Dark
To choose one of them please go to Customize > Footer where you will find Footer theme which allow you to set one of the styles.

Note
To make the color changes show on site after saving them in Customize make sure that Unyson extension: SASS Compiler is activate.
Features - custom shortcodes used in our theme
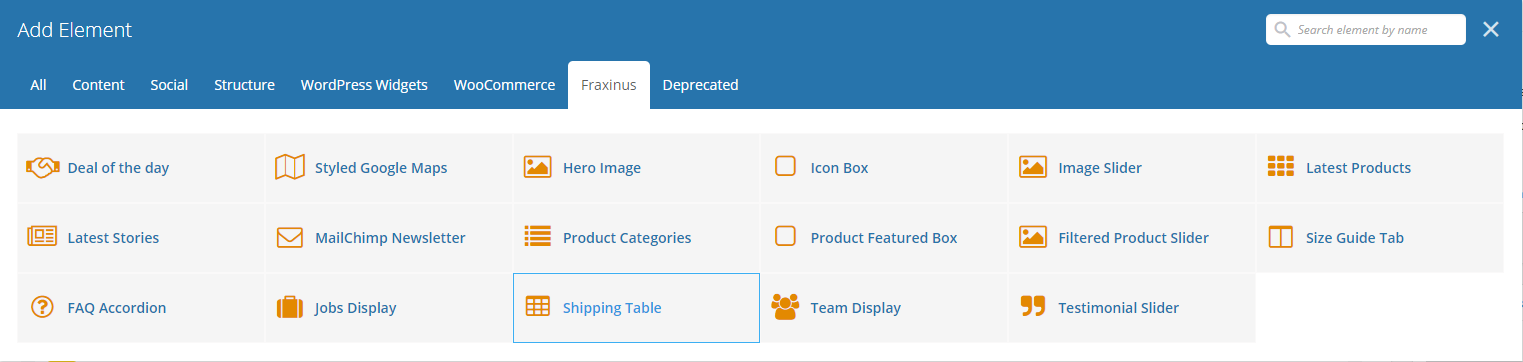
All the shortcodes mentioned in this section of our documentation can be reached by going to already created page or a new one.
To access the elements which can be added to the page please choose + which allow adding a new element to the page. |

All the WPBakery elements created for this theme can be filtered from the rest of them by clicking on the Fraxinus tab.
Latest products - way to presents most recent products from your shop
This element allows showing a specific number of products (starting from the last item added to the WooCommerce Products list)
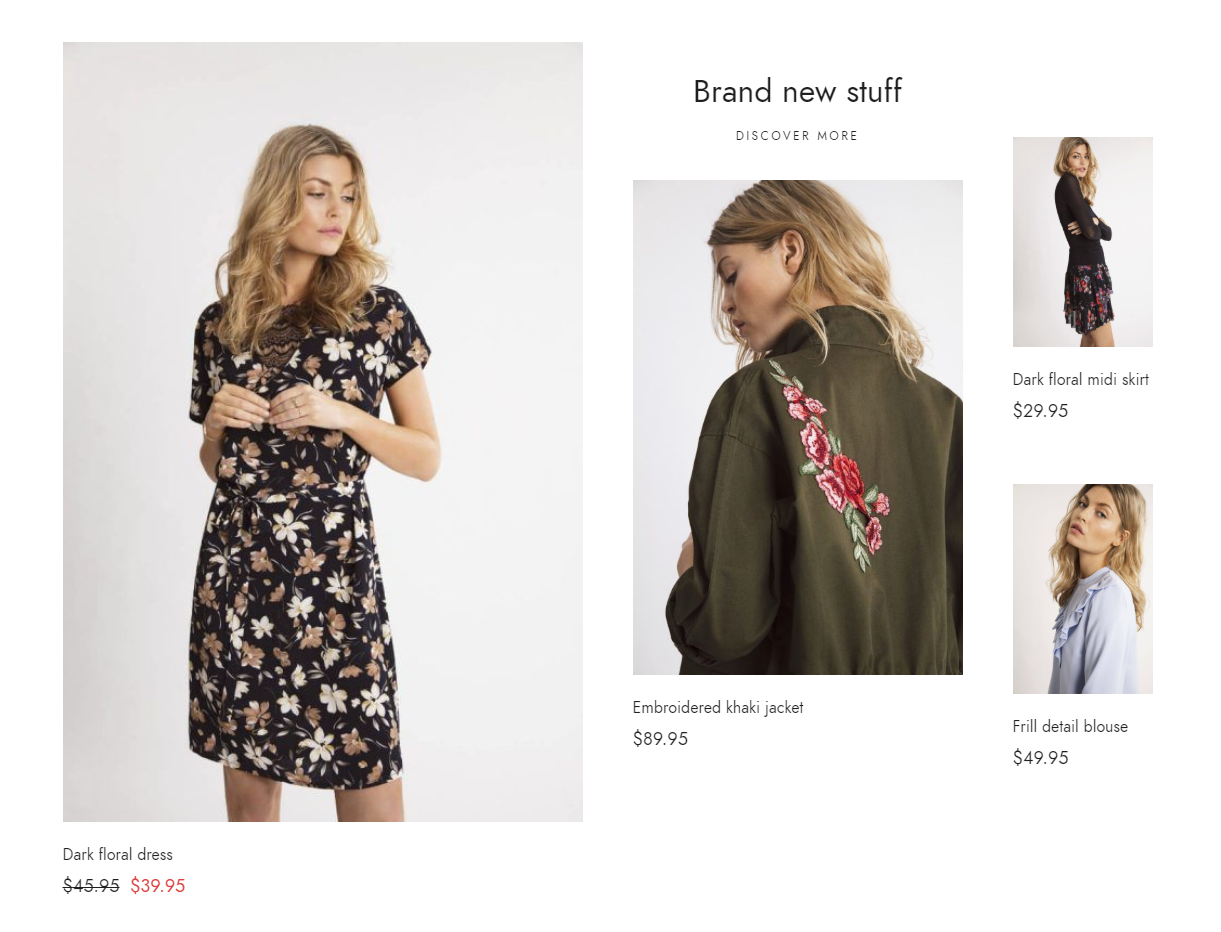
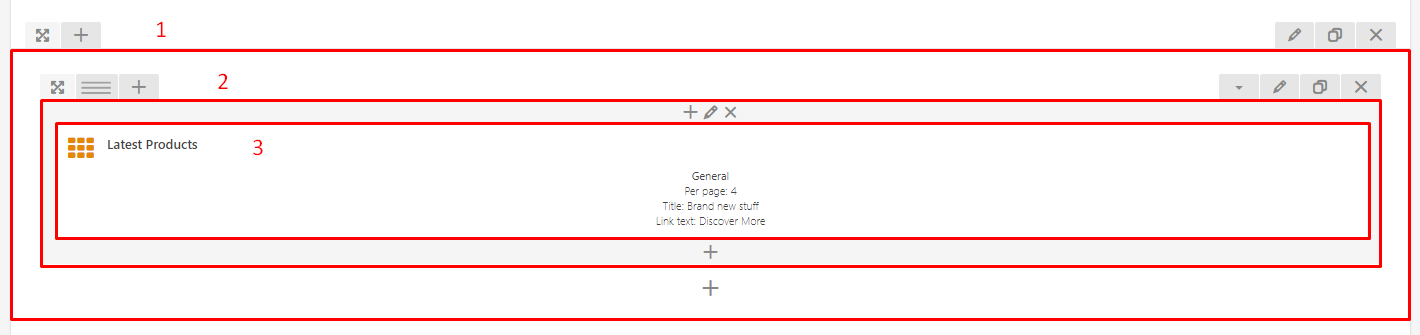
To recreate the look of this element used on the demo site:
Create a Section (use the default settings).
Inside the Section add a Row element (use the default settings).
Add Latest products element inside Row
- Per page: 4 (this is the number of products which will be added to the site)
- Title: Brand new stuff
- Link text: Discover More
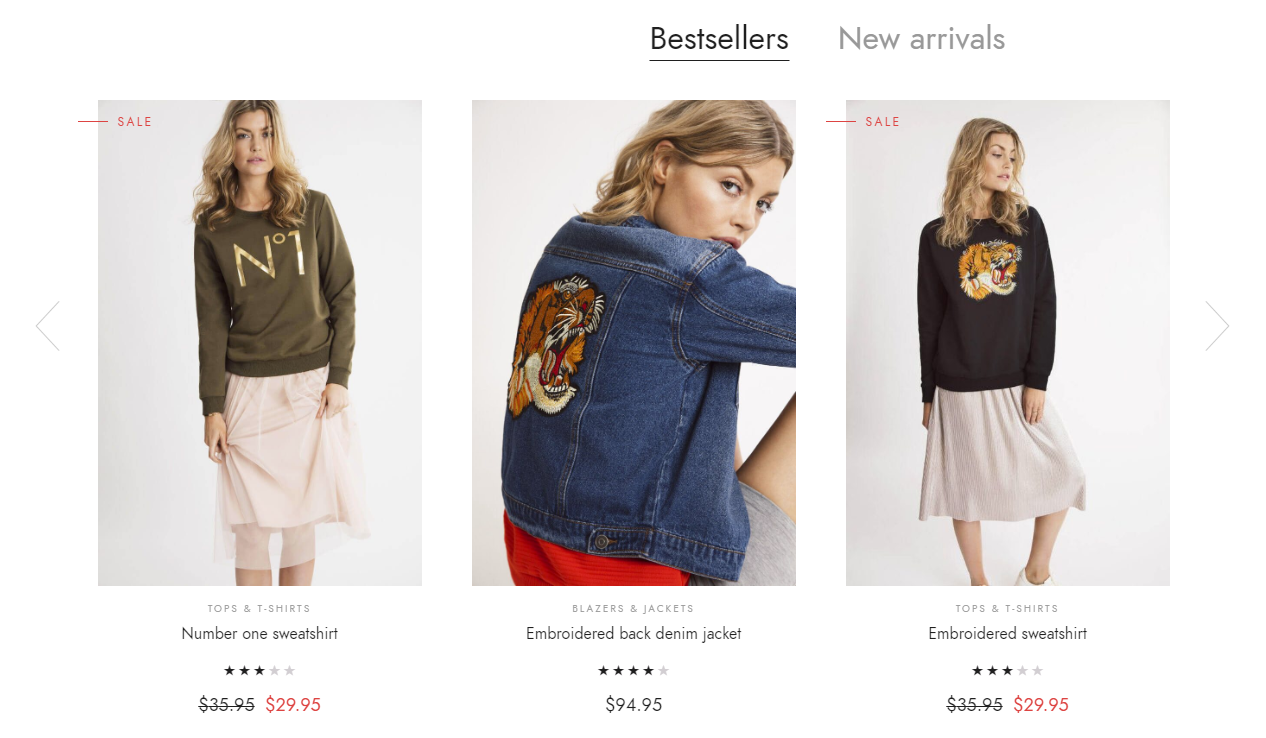
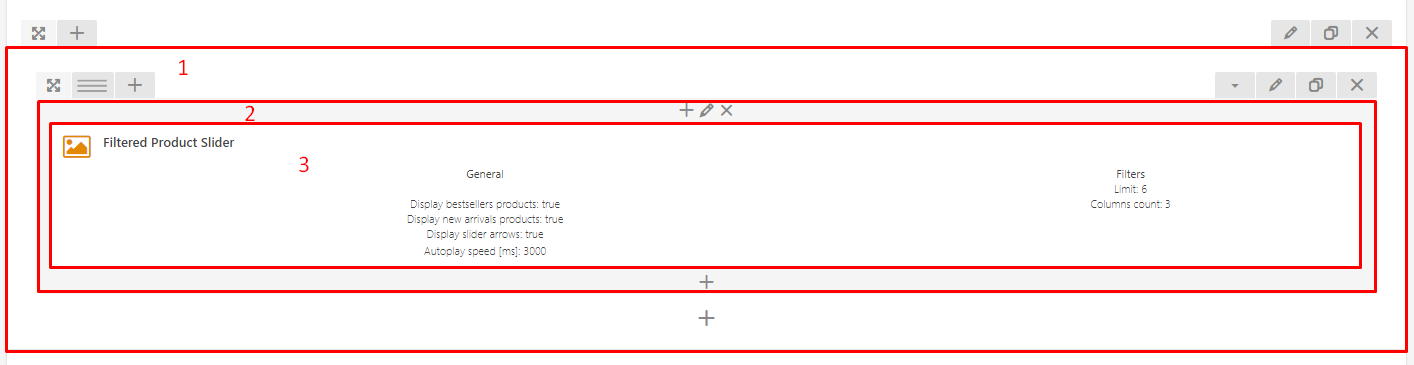
Filtered Product Slider
Allows to show WooCommerce products via one of the available filters.
To recreate the look of this element used on the demo site:
Create a Section (use the default settings).
Inside the Section add a Row element (use the default settings).
Add Filtered Product Slider element inside Row
General
- Display bestsellers products: Yes
- Display new arrivals products: Yes
- Display slider arrows: Yes
Filters
- Limit: 6 (Number of products to display. If empty, all products will be displayed.)
- Columns count: 3
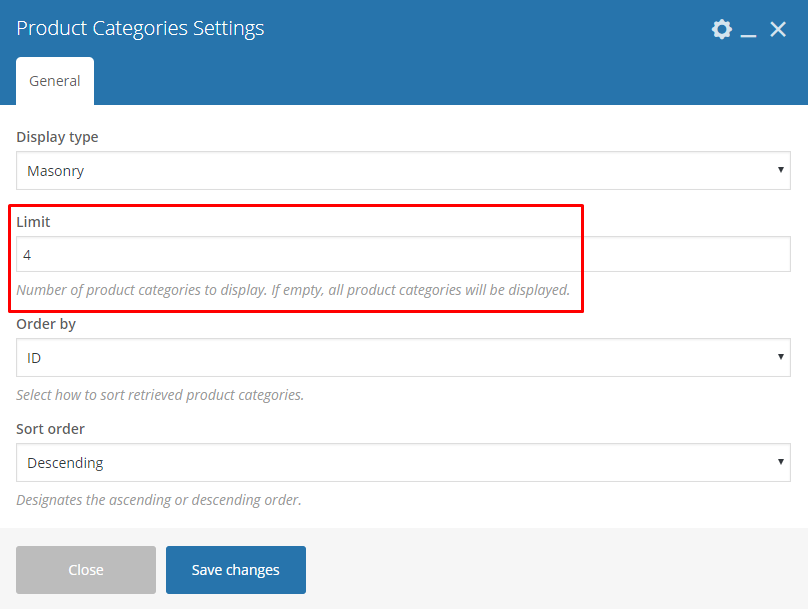
Product categories — available ways to display products

This section allows showing a specific number of products categories. The number of categories can be set via the option available in the settings.
Using a different styles provided by shortcode
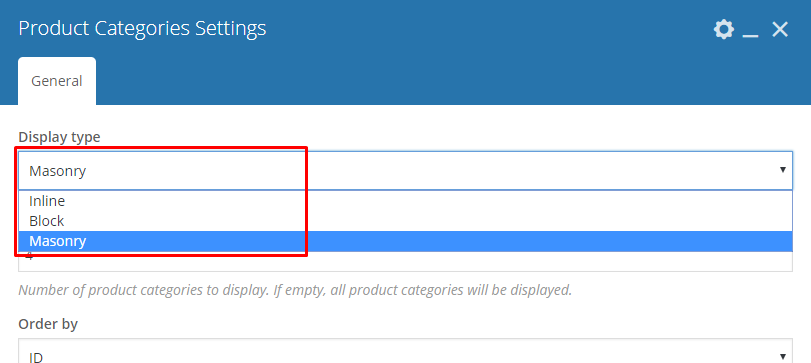
With Product categories the categories can be presented on the site in 3 different way:
- Inline
- Block
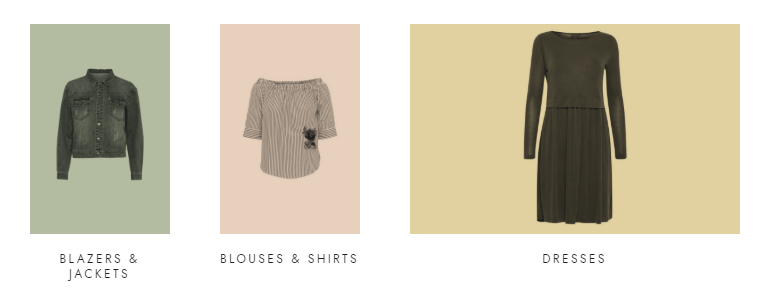
- Masonry
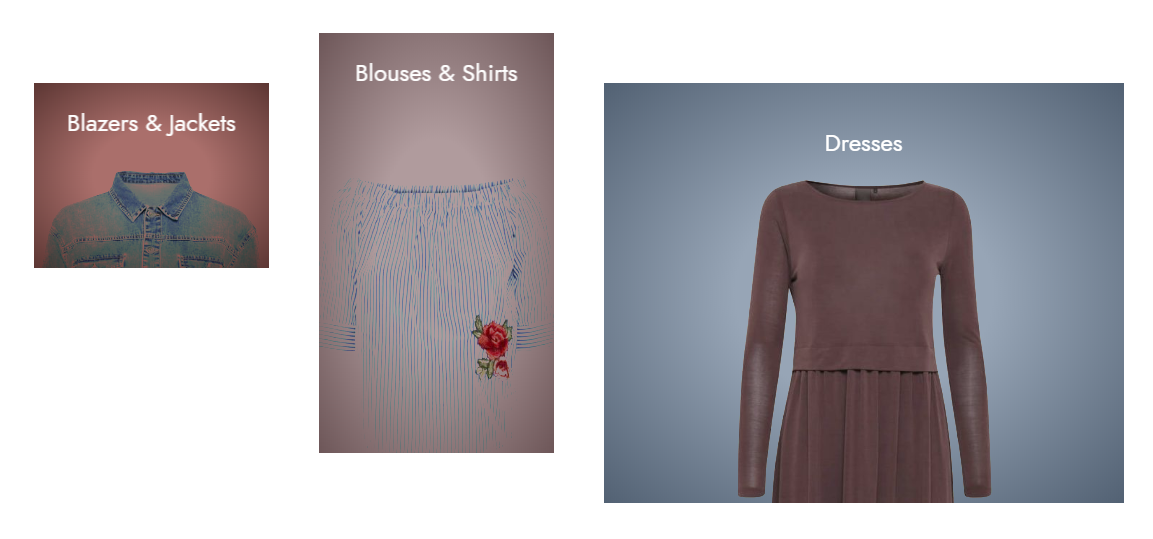
To show them in Product categories settings use of of the available option from the dropdown of the Display type
Product Featured Box - showing the best of the best
With this shortcode, we can present a product we wish to feature (or anything else we would like to feature on our site). In the Fraxinus we are suggesting two ways to presents the product just follow the settings below:
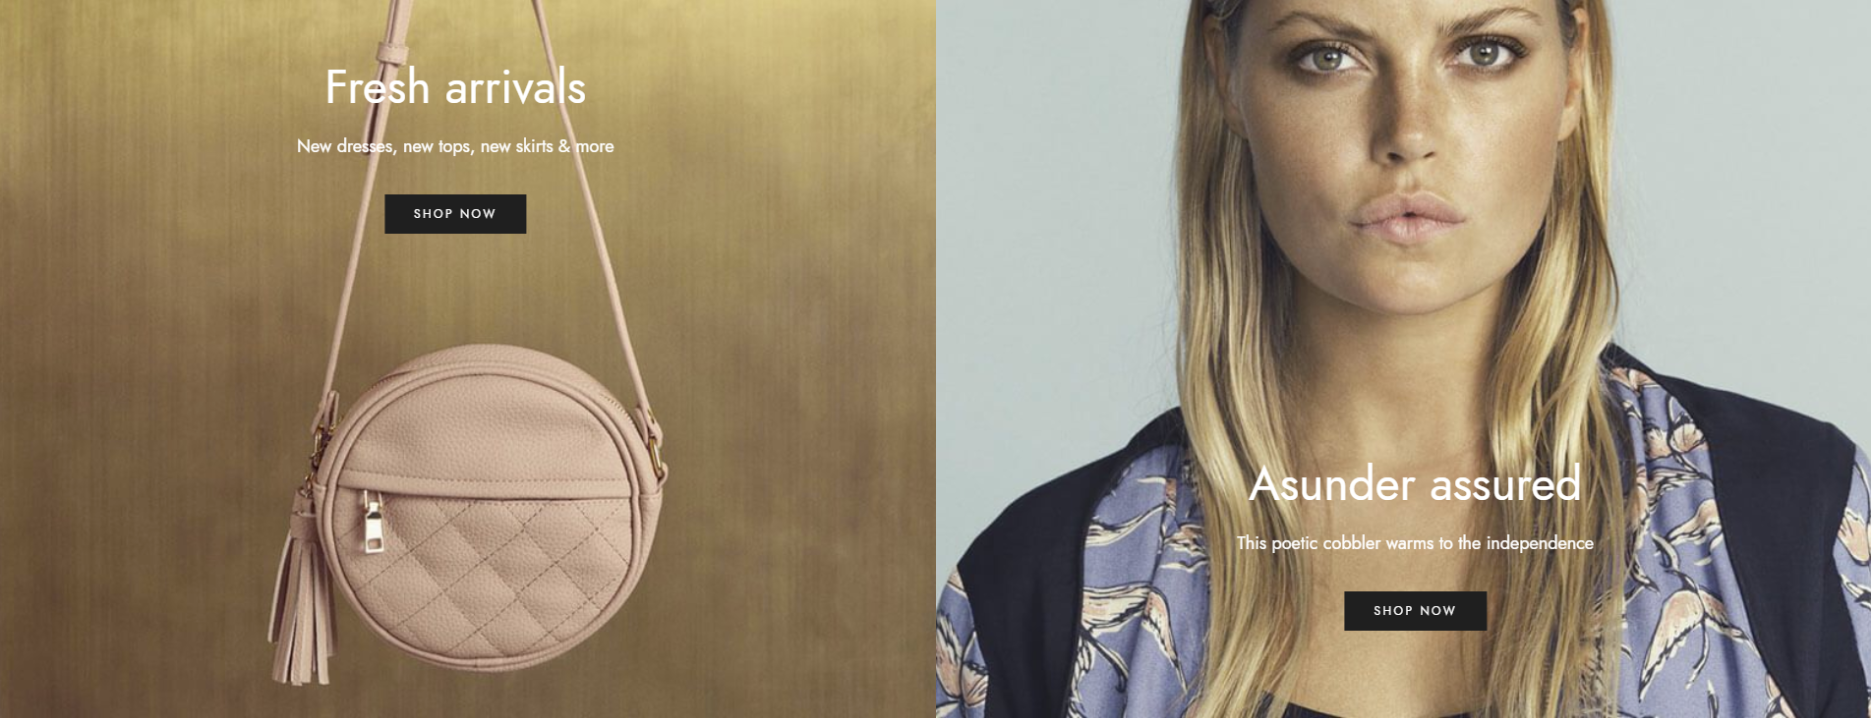
For the hero type look
To recreate the look of this element used on the demo site:
Create a Section (use the default settings).
- Extra class name: ct-product-featured-box-shop-home-featured-box ct-u-padding-top-70 ct-u-padding-top-0-xs
Inside the Section add a Row element (use the default settings).
- Row Layout: 1/1 + 1/1
Add Filtered Product Slider element inside Row
General (example)
- Image (The image will can be choose from the Media Library)
- Title: Fresh arrivals
- Title font size: 48
- Title color: #ffffff
- Description: New dresses, new tops, new skirts & more
- Description font size: 18
- Description color: #ffffff
- Button text: Shop Now
- Button motive: Black
- Button link: shop
- Content alignment: Top center
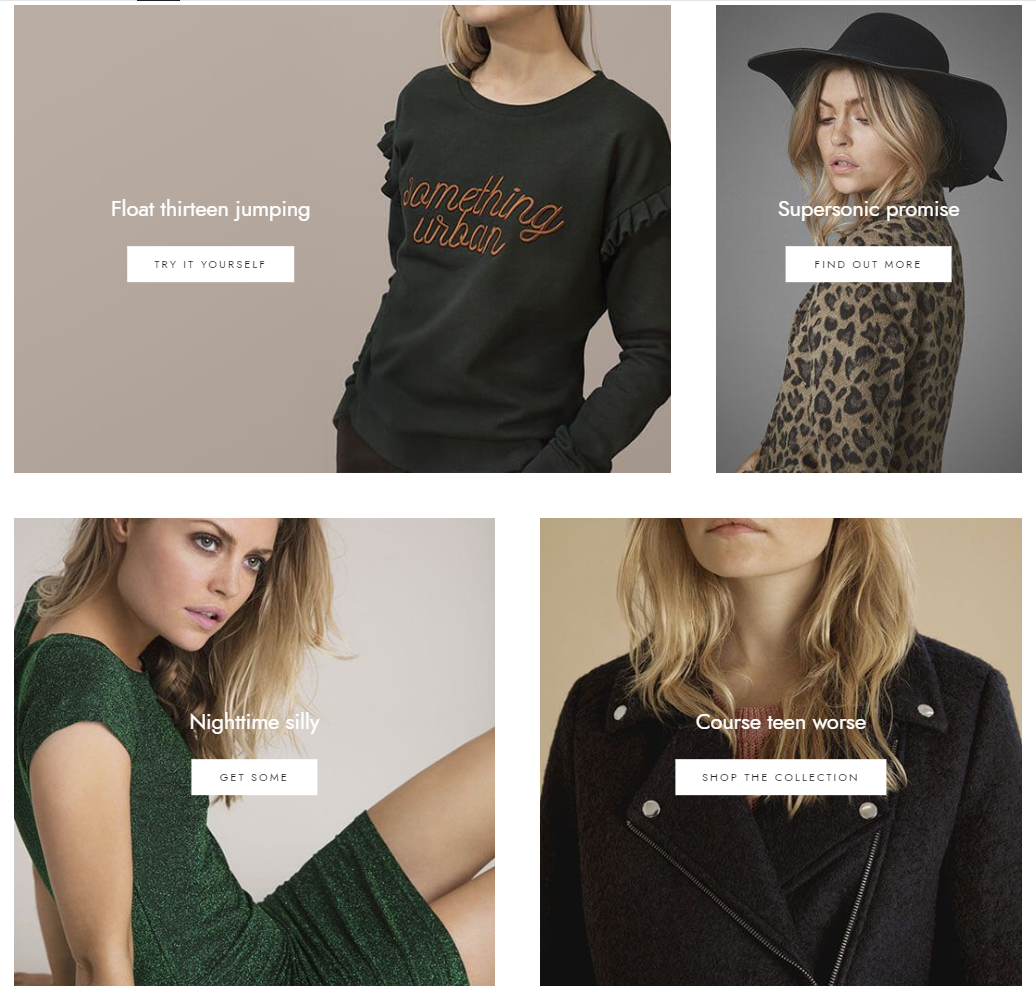
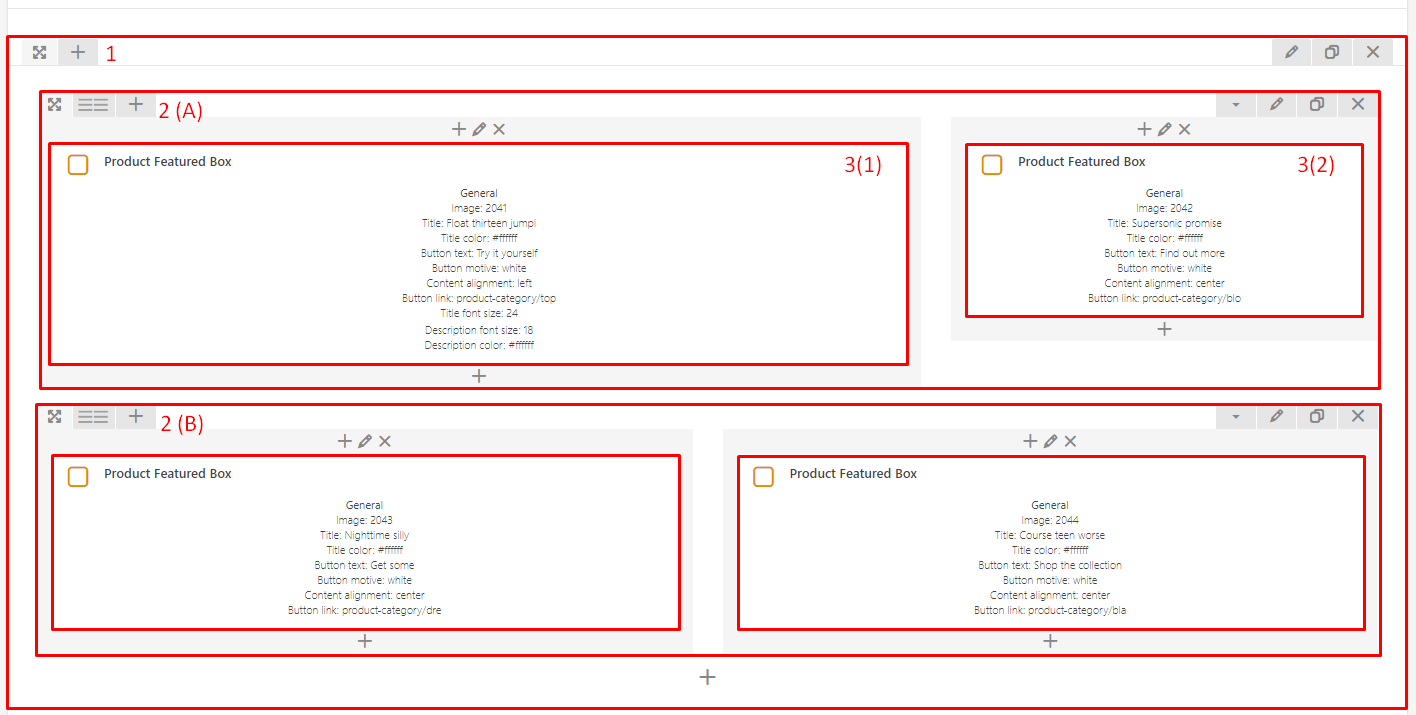
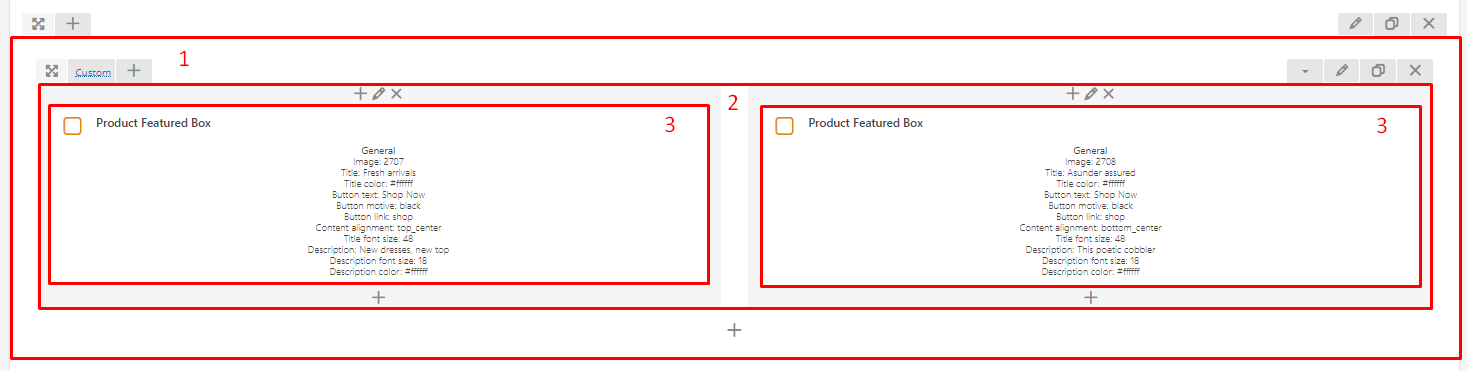
For the boxed type
To recreate the look of this element used on the demo site:
Create a Section (use the default settings).
Inside the Section add two Row element (use the default settings).
- Row Layout A: 2/3 + 1/3
- Row Layout B: 1/2 + 1/2
3. Add Filtered Product Slider element inside Row (this is an example of the shortcodes used in the firts row) |
General (1)
- Image (The image will can be choose from the Media Library)
- Title: Float thirteen jumping
- Title font size: 24
- Title color: #ffffff
- Description:
- Description font size: 18
- Description color: #ffffff
- Button text: Try it yourself
- Button motive: White (default)
- Button link: product-category/tops-t-shirts
- Content alignment: Left
- Image (The image will can be choose from the Media Library)
- Title: Supersonic promise
- Title font size: 24
- Title color: #ffffff
- Description:
- Description font size: 18
- Description color: #ffffff
- Button text: Find out more
- Button motive: White (default)
- Button link: product-category/blouses-shirts
- Content alignment: Center (default)
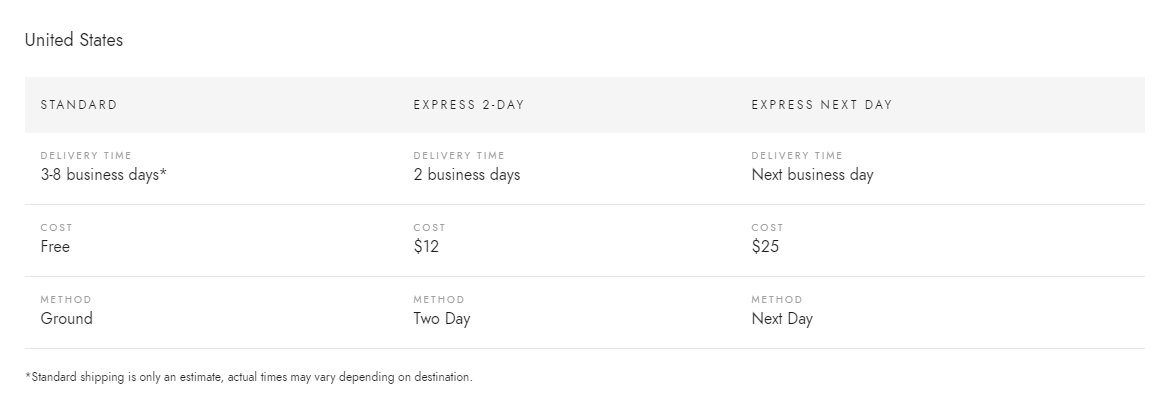
Shipping table - providing information of the type the shipping Method your shop support
Using this shortcode you can present the Shipping method available.
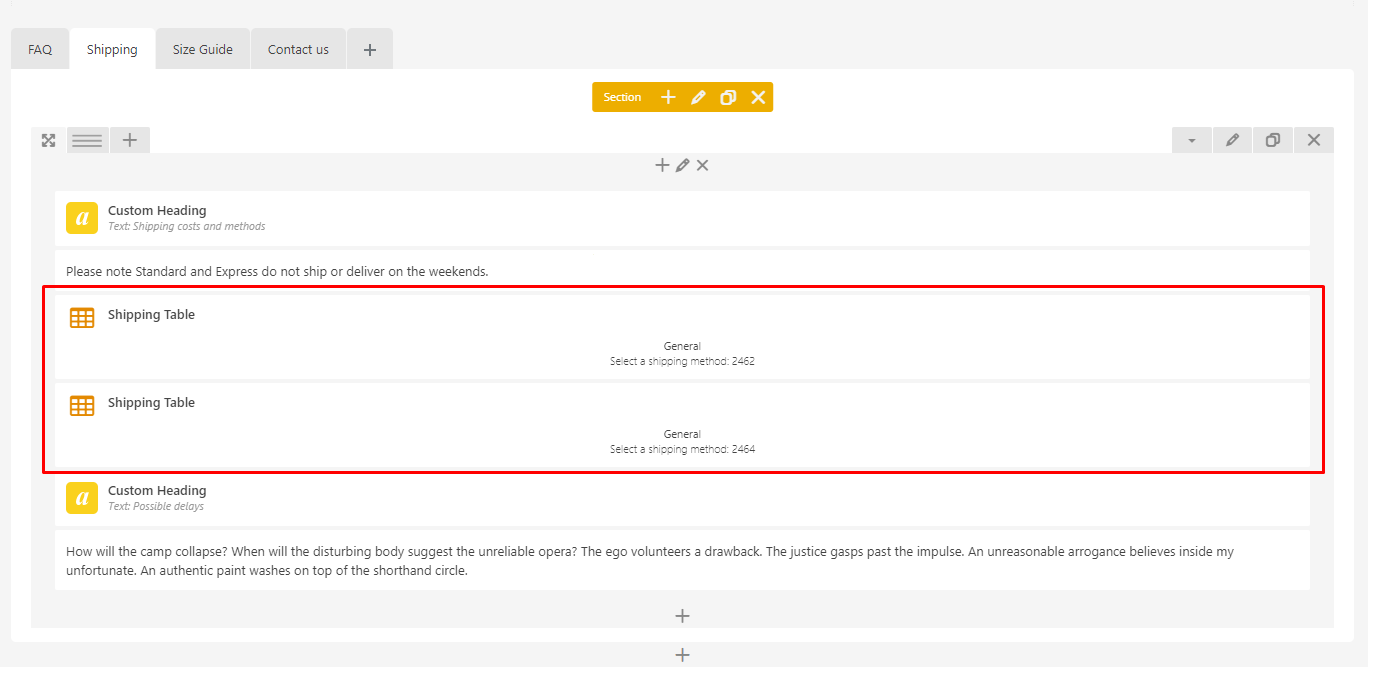
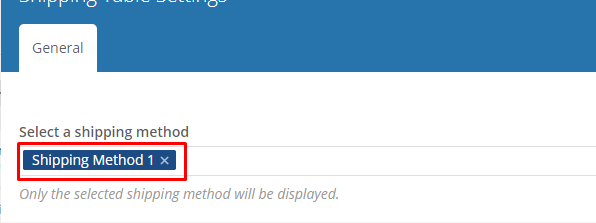
How to use the Shipping table shortcode.
To add an Shipping post to the shortcode start typing the name of it. The shortcode will suggest you the possible ones based on the typed letters.
If you don’t know what Shipping post are, you can check them going to WordPress Dashboard > Shipping method > All Shipping methods
How to create Shipping method?
Before you will be able to show any of the methods in the shortcode first you need to create some. To do so please follow the instruction below.
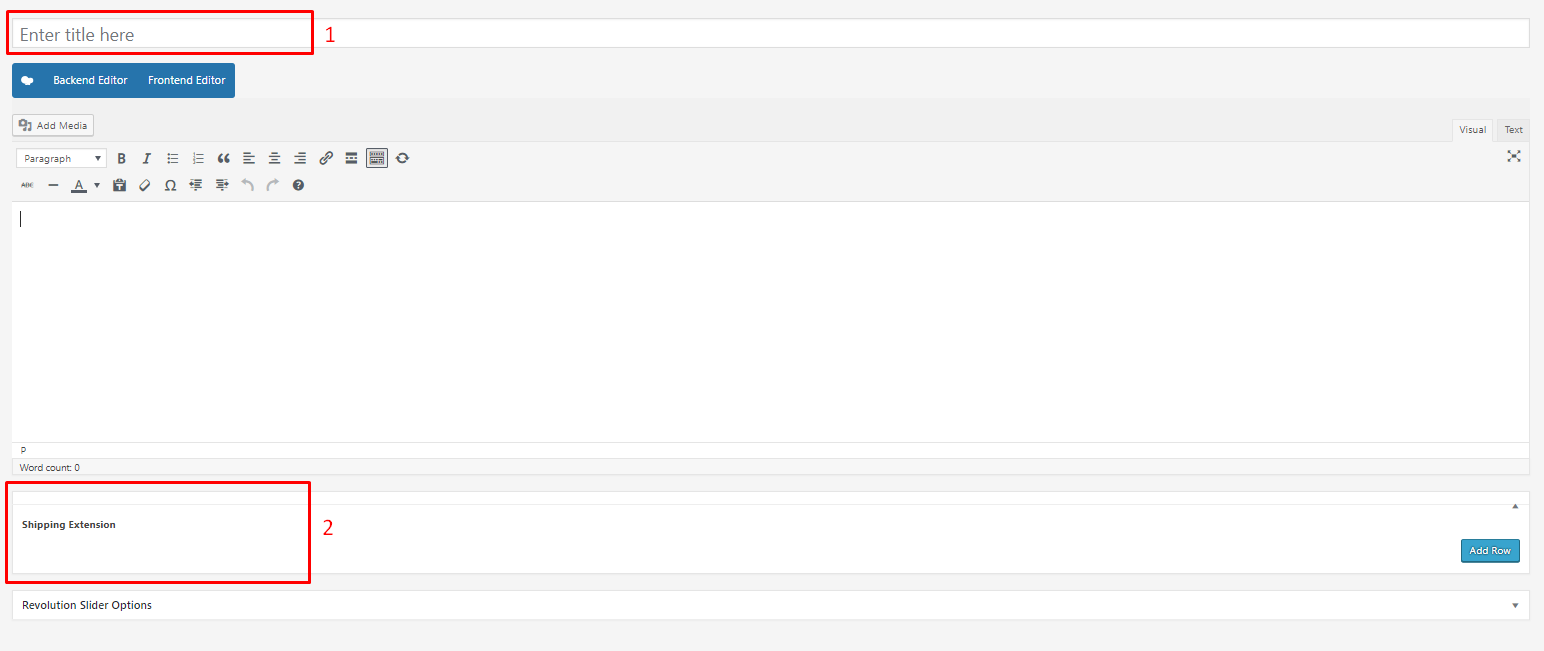
Please go to your WordPress Dashboard > Shipping method > Add New

There you will be able to:
- Enter a Shipping Table title (this will be only visible in the backend in the All shipping methods section).(1)
- Create a table with the Shipping methods information. (2)
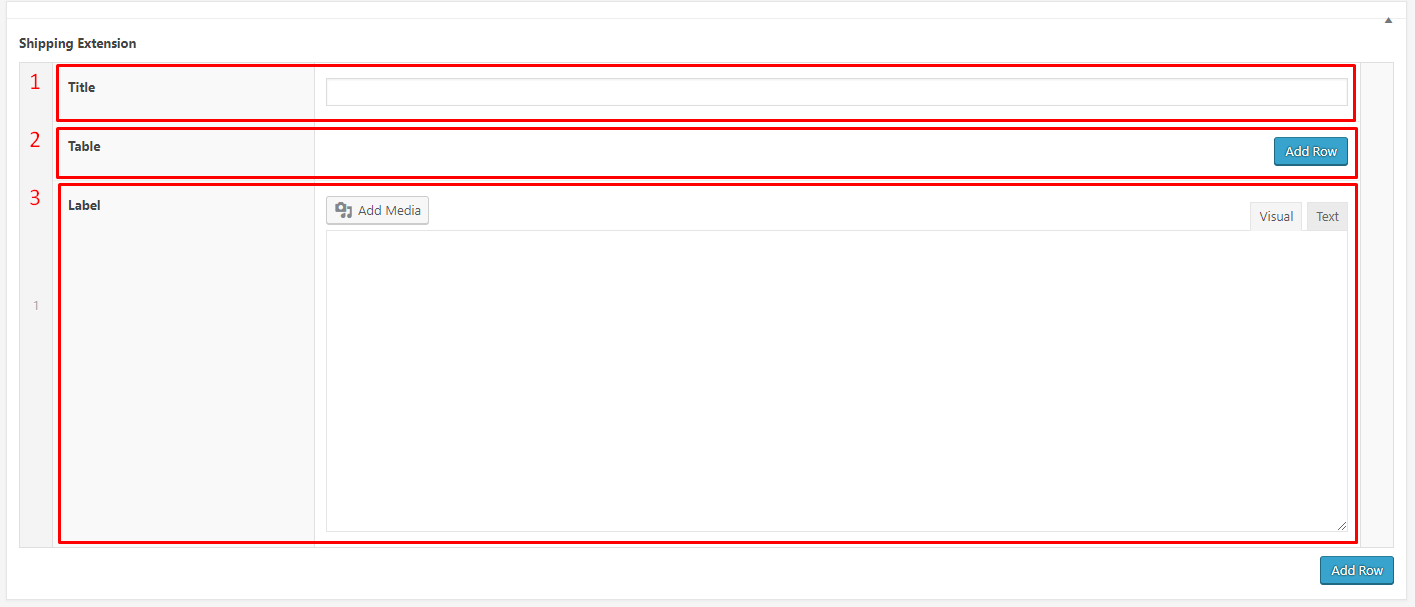
The next step is to create a table which is possible by Shipping Extension (2)
First click Add Row. This will allow to add the Main Row of the table. The created Row contain:

- Title: Allow to add the title under which the table will be show on the site.
- Table: Here will be continued the creation of the rows being part of the Shipping table.
- Label: Here can be add some comment.
Second, click two times Add Row inside the table. This will allow to create the row and first section you will be able to edit.

- Add the title to the rows. In our example we added two more fields and provide there 3 types of Shipping the shop provides.
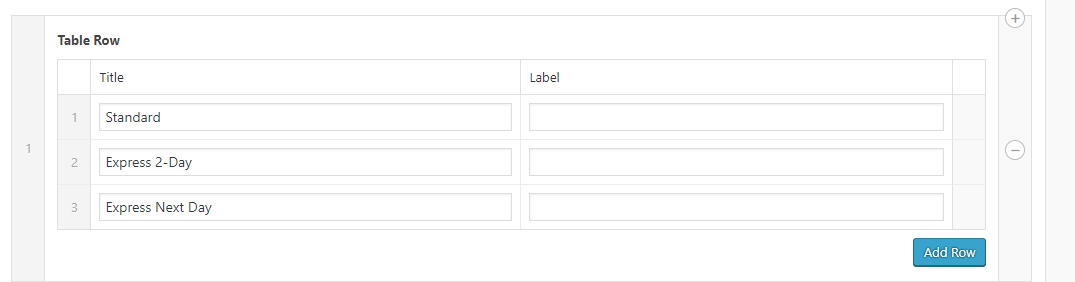
And this are the results (remember that the first row will act as a header of the table):

With this knowledge, you should be able to create the rest of the table.
Note
Remember that this table works only as a piece of information for the customers and in any way won’t affect the Shipping option provided in WooCommerce.
Size Guide tab
This shortcode will work ONLY when the bundled with Fraxinus Theme WooCommerce Product Size Guide so if you wish to use this shortcode make sure to activate it first.
How to create Size Guide Table?
Before being able to use the provided shortcode we need to have a created Size Guide which can be added there. To do that please follow the steps below:
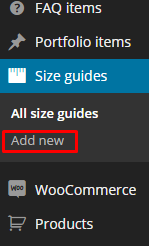
Go to Size guides > Add new in your WordPress Admin Panel
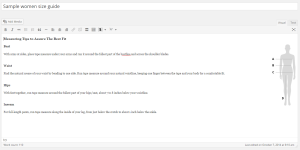
Insert a title and content. Title will be the name of the size guide. In the content, you can for example describe how a customer can measure its sizes properly.
Fill the size guide.
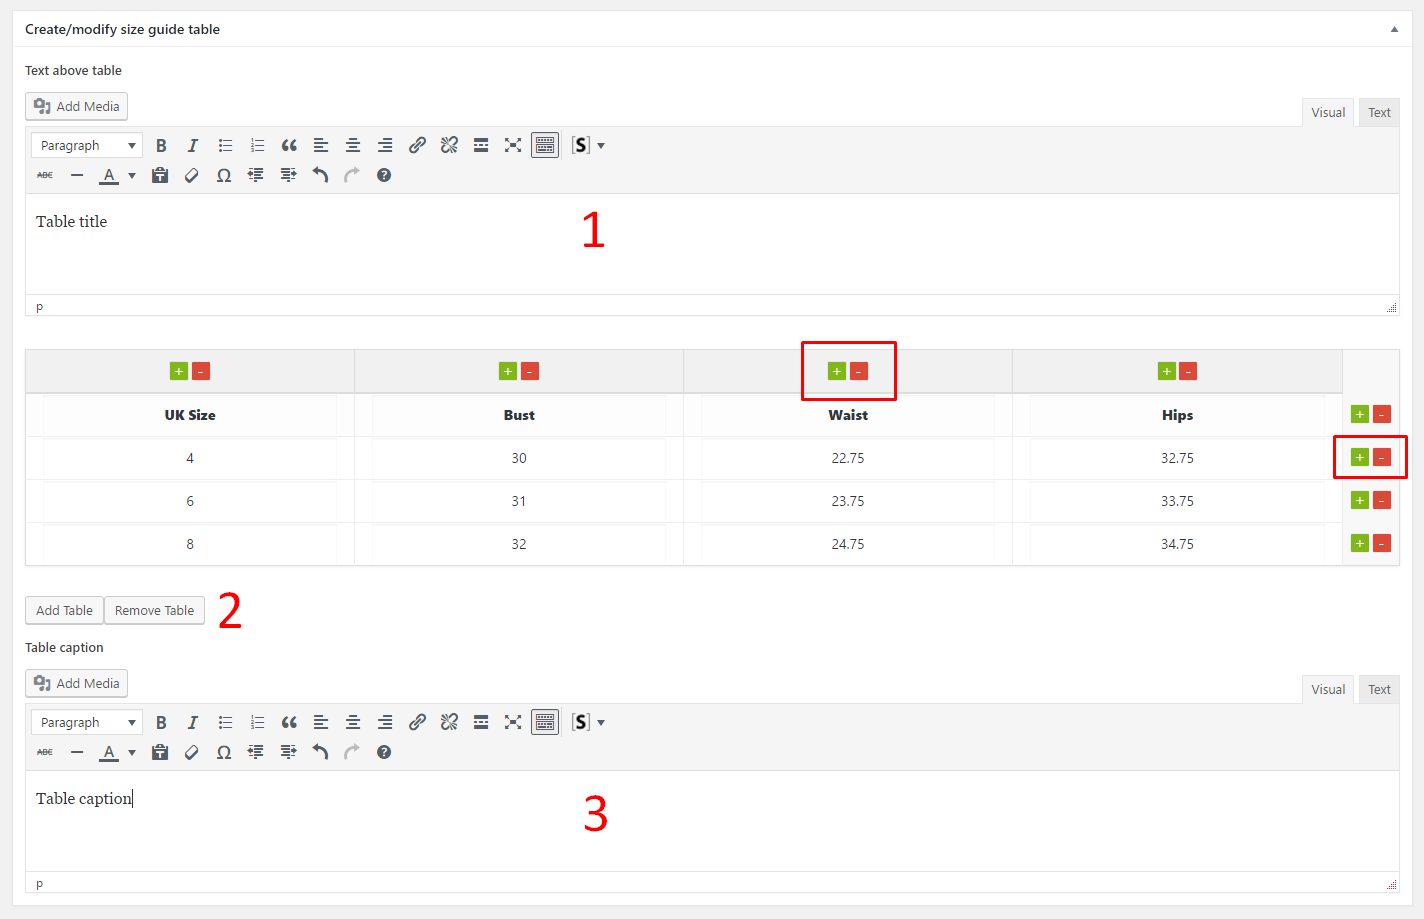
- In the sections 1 and 3 you can specify a table header and a caption.
- To add/remove columns and rows just use the plus/minus buttons (inside red squares on the screenshot). Right, it’s as simple as that!
- Fill table cells by just clicking on them and inputing the text.
- Every time you create a size guide there is a basic 4×4 table attached to make your work easier.
- If you wish to add or remove added extra table use the Add Table or the Remove Table button (2)
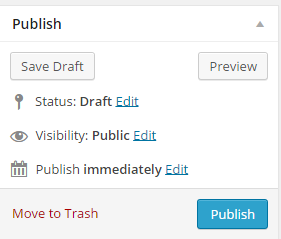
Publish it and go to the next section
How to use Size Guide table shortcode?
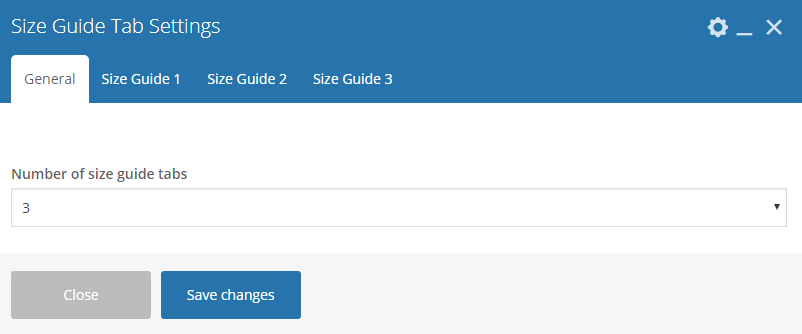
Size Guide shortcode allow to show from 1 to 4 tables at once. Based on the decision made in the General tab from 1 to 4 Size Guide tabs will be shown allowing to set:
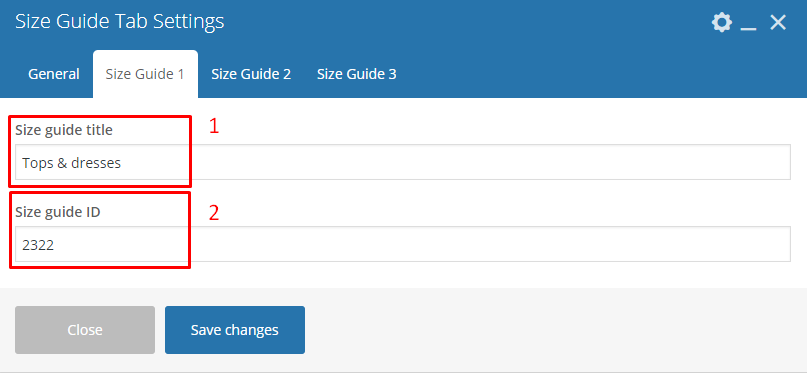
- Size guide title
- Size guide ID: choose SG you want to show
Where to found the ID of the created SizeGuide
Go to the Size guides and choose the size guide you want to add by choosing Edit
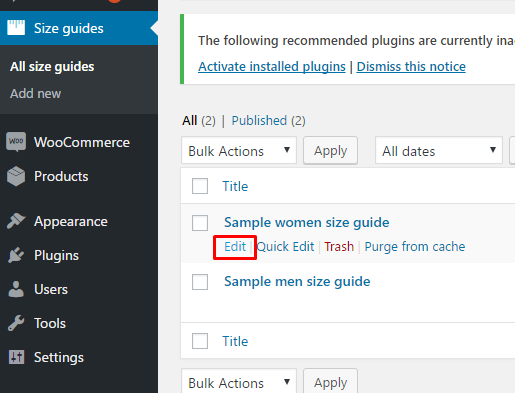
In the SizeGuide slug you will find a number – this is the ID we are looking for!

Job display
How to create Job item
Before being able to use the shortcode we need to create an item which could be shown. To do so please follow the instruction below:
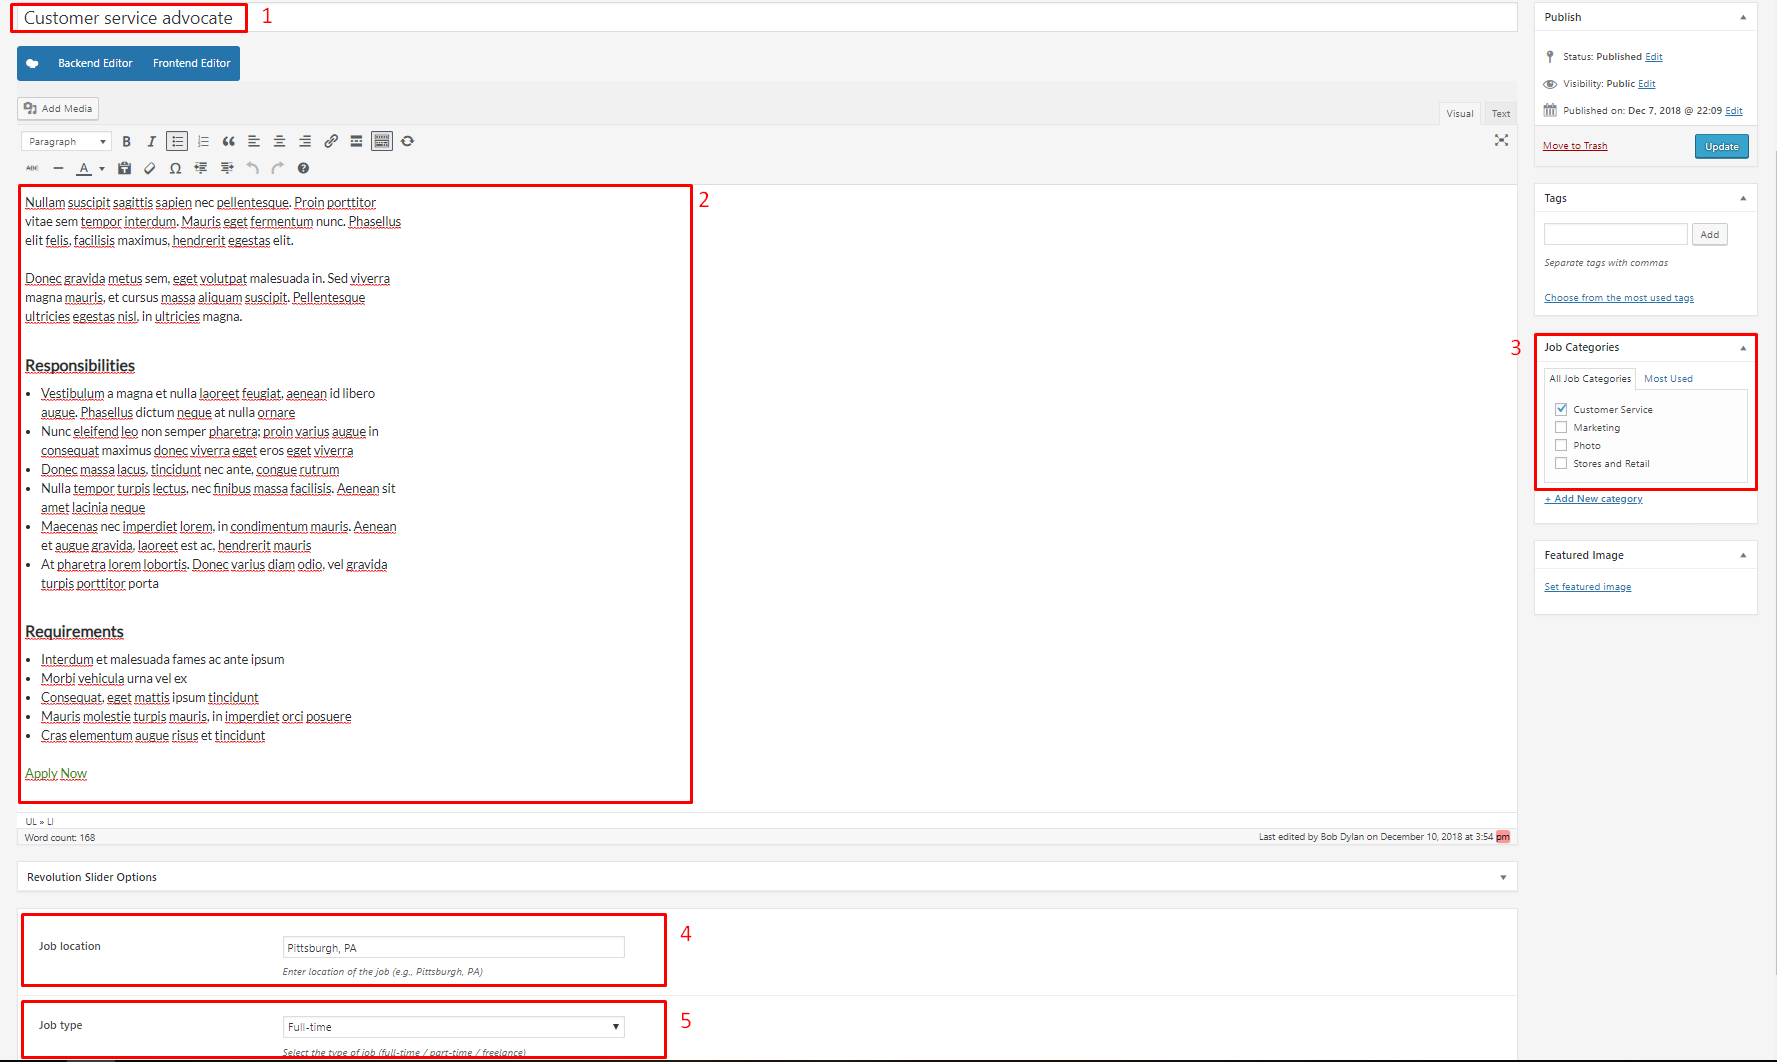
Go to Jobs > Add new in your WordPress Admin Panel
In the item you will be able to add:
- Title - Here you can add the name of the Job the offer is for
- Content - This section is used to provide any type of description about the job
- Job Categories: add a new Category or assignee the Job offer to a new one. This won’t show on the site but admin will be able to filter the offer using created categories.
- Job Location - add the name of the location
- Job Type - Choose one of available job types
How to create Job categories and then use them
Categories are very convenient way to organize your faq items, that can be added to more than just one category. To create new FAQ category, navigate in WordPress dashboard to FAQ > Faq Categories
For new FAQ category you can define:
- Name
- Slug
Categories allow you to group questions about similar subject into one group. Then they can be show on the page by shortcode’s Category to display option.

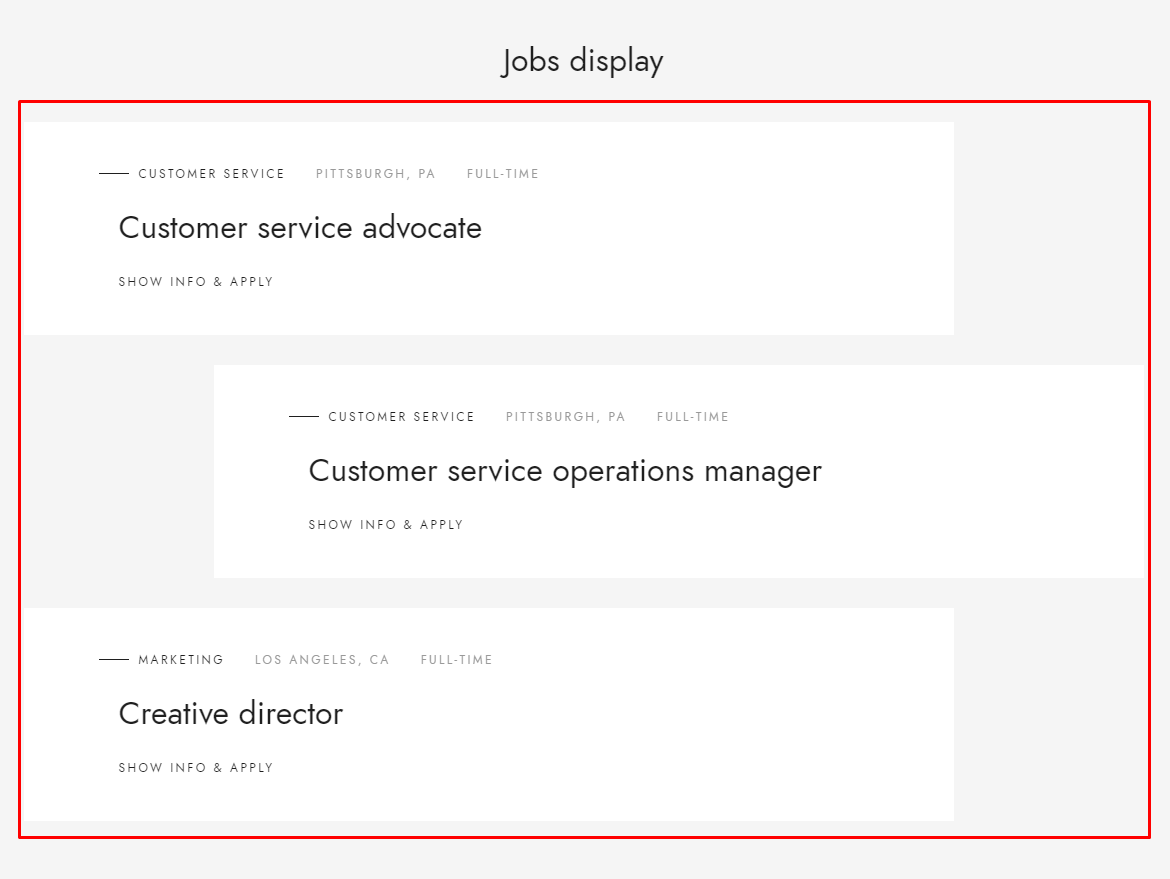
Using the Job display shortcode
By using the Job Display shortcode you will be able to show all the created Jobs offer on the site. With the available settings you will be able to among other options use:
- Limit: Set the number of the offers which will be shown
- Specify Jobs: Choose the jobs to show by they name
- Exclude Jobs: Choose the jobs to hide by they name
- Specify Job Categories: Choose the jobs to show by the category they are assignee to
- Exclude Job Categories: Choose the jobs to hide by the category they are assignee to