Need help in using our WordPress theme?

Menu logo can be changed via customize option. To access Site Indentity go to Appearance > Customize > Header, Navigation > Header where you will be able to change/remove logo image.
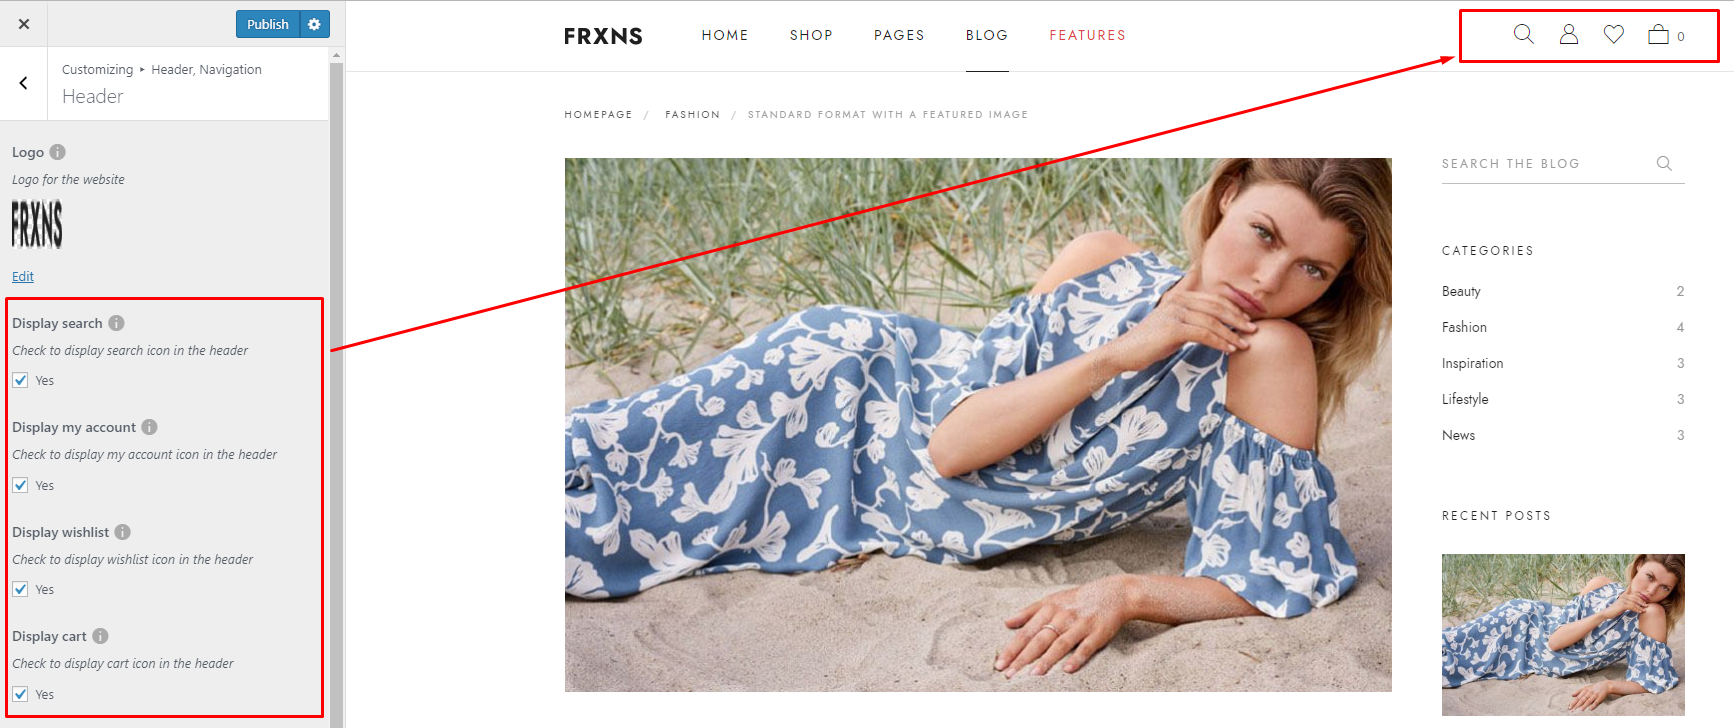
Fraxinus settings in addition to choosing a logo. By going to Appearance > Customize > Header, Navigation > Header it also gives the opportunity to:
By going to Appearance > Customize > Header, Navigation > Navigation the settings allows to choose one of two available styles of the menu:


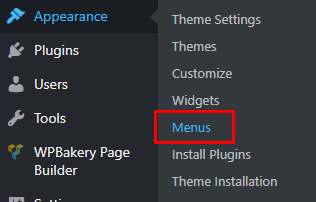
Step 1 - Navigate to Appearance > Menus
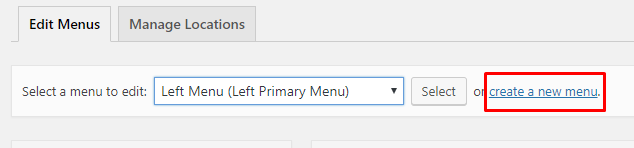
Step 2 - Click on create a new menu, enter menu Name and click on Create Menu button
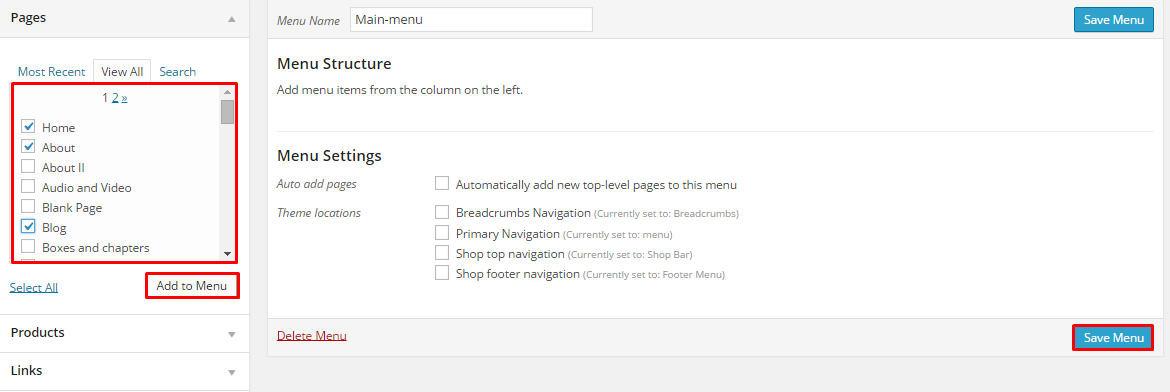
Step 3 - From the right side choose pages that you want to add to your menu and click on Add to Menu. Once menu items are added, you can reorder or nest them via drag and drop tool. Remember to click Save Menu when you finish to keep your changes saved.
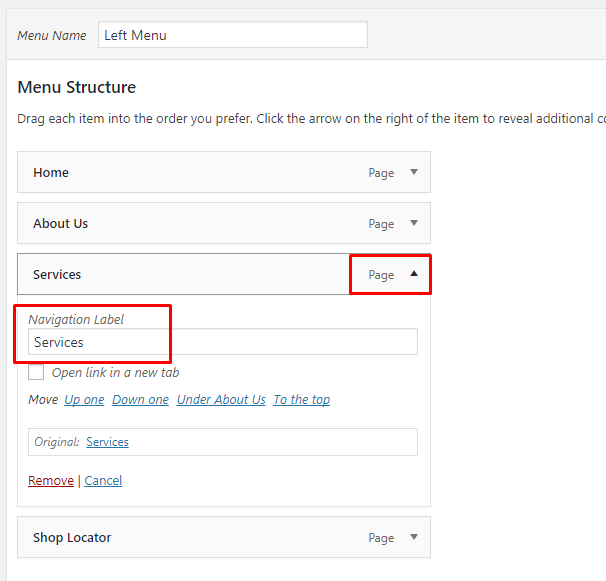
Step 4 - You can easily rename every menu item in item details.
Step 5 - Optionally you can add to menu other items, like Links or Categories.
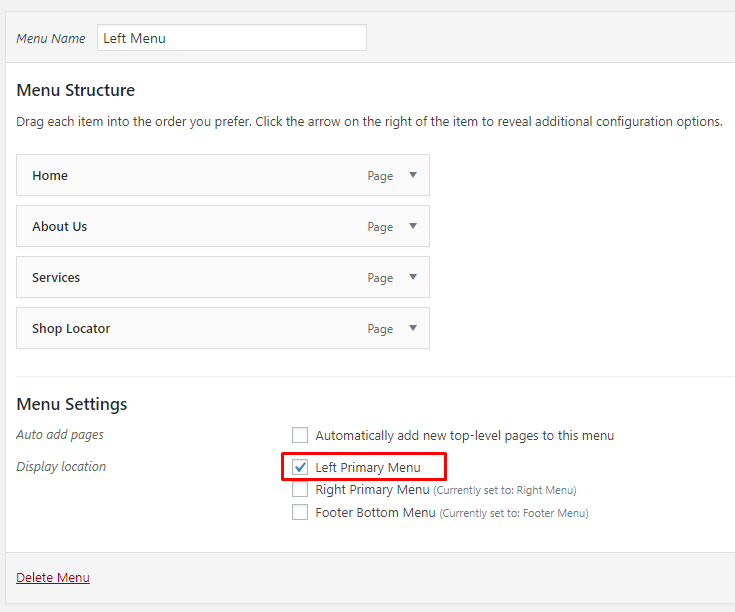
Step 6 - Check your menu as Left Primary Menu to set it up as one of 3 menus supported by the theme (Left Primary Menu, Right Primry Menu and Footer Bottom Menu). Select which menu appears in each location.
Step 7 - Always click Save Menu after providing any changes.
The Primary Naviagtion of this site was created with the use of Max Mega Menu which is bundled with the Fraxinus theme.
Below you will find information how to convert menu to a Max Mega Menu menu type.
Step 1 - Navigate to Appearance > Menus
Step 2 - Click on create a new menu, enter menu Name and click on Create Menu button or if you wish to convert arleady existing menu just choose it from the drop down list and click Select
Step 3 - On the left side you will see the settings for Mega Menu (under Max Mega Menu Settings). Check the “Enable” checkbox and click Save. Your menu will now be converted into a Mega Menu for the relevant Theme Location.

Your menu is converted to a Max Mega Menu one and you can use all of the features provided by the plugin
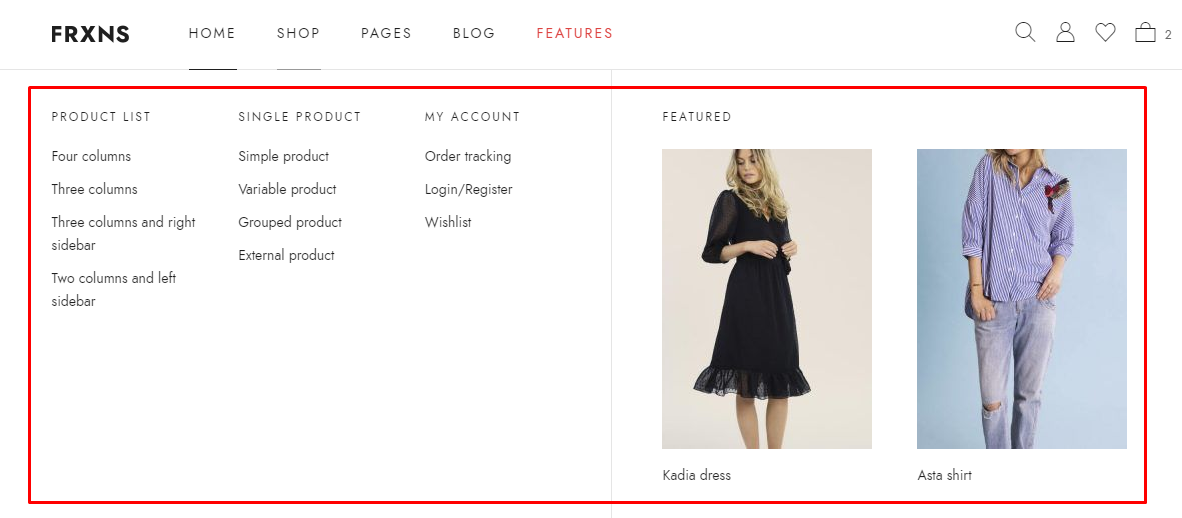
With the features provided by the Max Mega Menu we can created submenu with columns and images. To achieve an effect simillar to the one we can see on the Fraxinus demo please follow the instruction below:
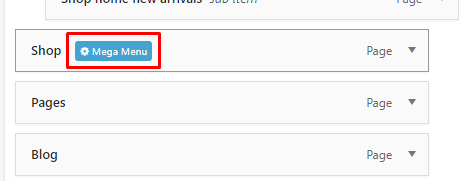
Hover over the item which you want to use to create you sub menu. Click the Mega Menu icon which should show up.
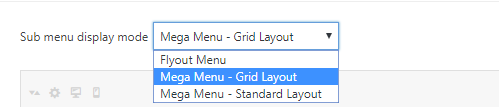
From the Sub menu display mode dropdown menu choose Mega Menu - Grid Layout
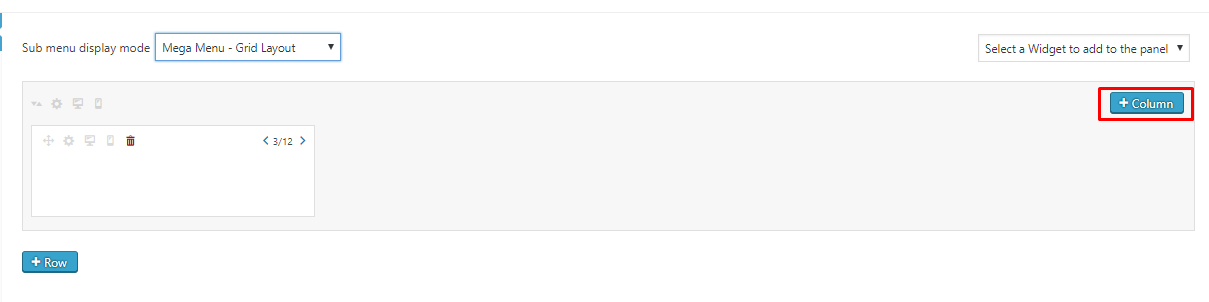
Create as many Columns as you need using the + Column button. In the Shop submenu we created 4 Columns
To each created Column you can add a widget choose from the dropdown menu visible on the right
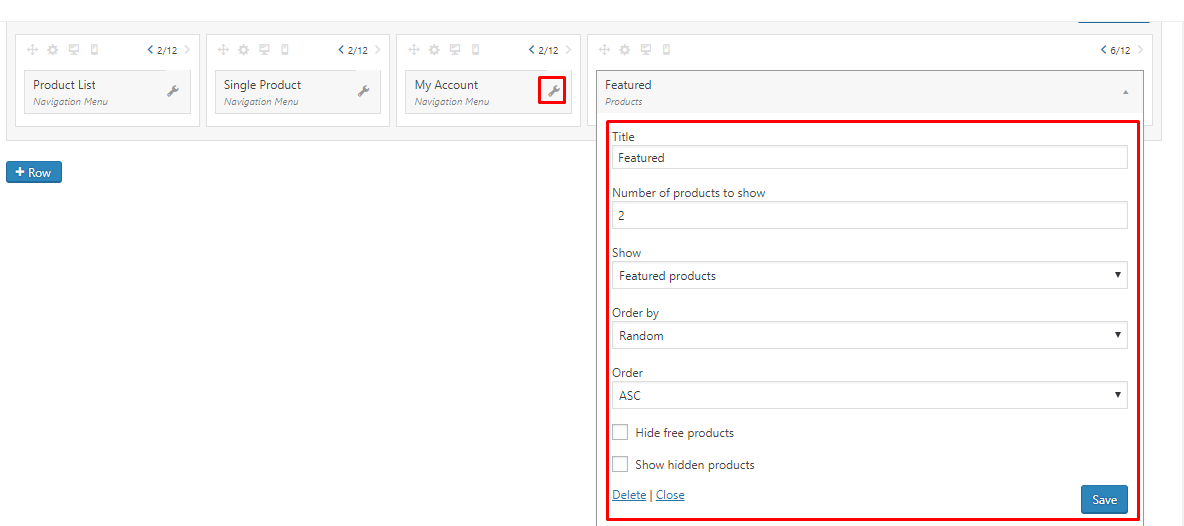
If you wish to edit the Setting provided by these elements click the wrench icon. To create the links we used the Navigation Menu widget and the element s with the images were created using the Products widgets with settings as below:
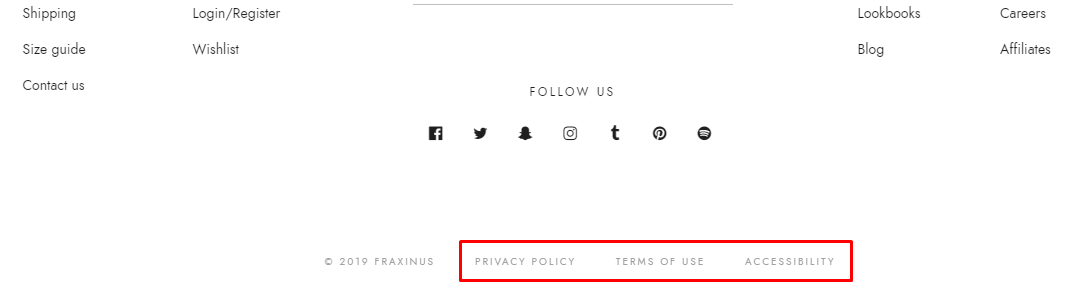
To add a menu to the post footer section:

This will result in the menu being added here: