Need help in using our WordPress theme?
In our guide, we will show you step by step instructions on how to install our WordPress theme for beginners. Below you will find will cover two ways to install a WordPress theme.
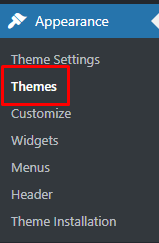
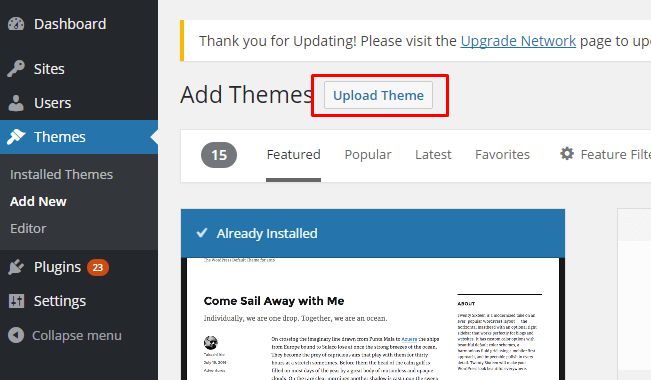
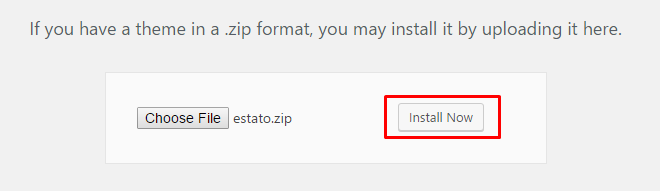
If Fraxinus Theme files are downloaded from your Themeforest account, you can start an installation using WordPress administration panel. Once you’ve logged in to your administration panel go to Appearance > Themes. Depending on your version of WordPress, you’ll see Add New or two other tabs: Manage Themes and Install Themes.
Follow steps below to install the theme:


Note
Common Install Error: Are You Sure You Want To Do This?
If you get the following question message when installing Fraxinustheme.zip file via WordPress, it means that you have an upload file size limit. Install the theme via FTP or call your hosting company and ask them to increase the limit.
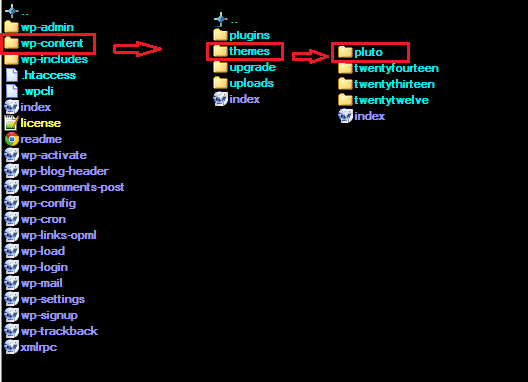
To install Fraxinustheme via FTP, follow steps below:
Learn more:
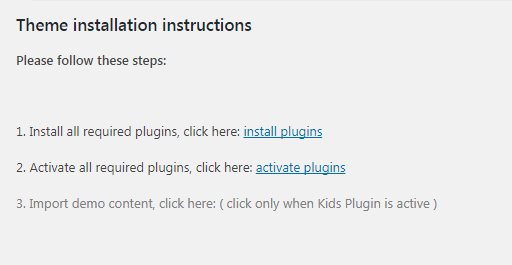
Some functionalities of the Fraxinus Theme are available because of plugins we used to create it. Once Fraxinus is activated in your WordPress admin panel you should see notification about bundled plugins we recommend to install – they are included in Fraxinus package – so you don’t have to do anything more than click install and activate.
Unyson is a framework for WordPress that facilitates development of a theme. This framework was created from the ground up by the team behind ThemeFuse from the desire to empower developers to build outstanding WordPress themes fast and easy. This documentation is heavily modified by createIT to ensure all custom extensions are well documented.
Note
This documentation assumes you have a working knowledge of WordPress. If you haven’t, please start by reading WordPress Documentation.
Minimum Requirements
Installation
Unyson is part of Fraxinus plugin that should be activated to be able to use the fully use this theme.
After plugin will be activated you will notice the Unyson entry in the sidebar:
License
The licenses for most software are designed to take away your freedom to share and change it. By contrast, the GNU General Public License is intended to guarantee your freedom to share and change free software. Unyson inherits the General Public License (GPL) from WordPress.
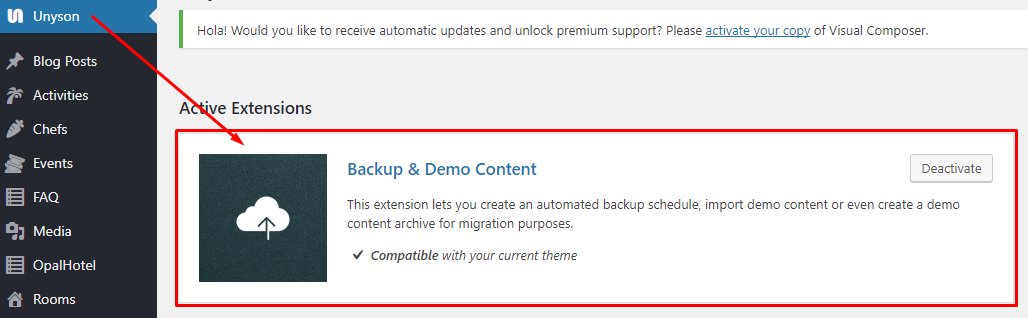
On the Unysone page you’ll see a list of avaliable extensions separated in two sections:
Active Extensions - Extensions that should be activate to be able to fully use Fraxinus WP theme functionality.
Available Extensions - Extensions not yet downloaded or activated.
Note
We recommend to not activate any of the extensions that are not part of the list above. They may be not compatible with the theme and could create unexpected issues.
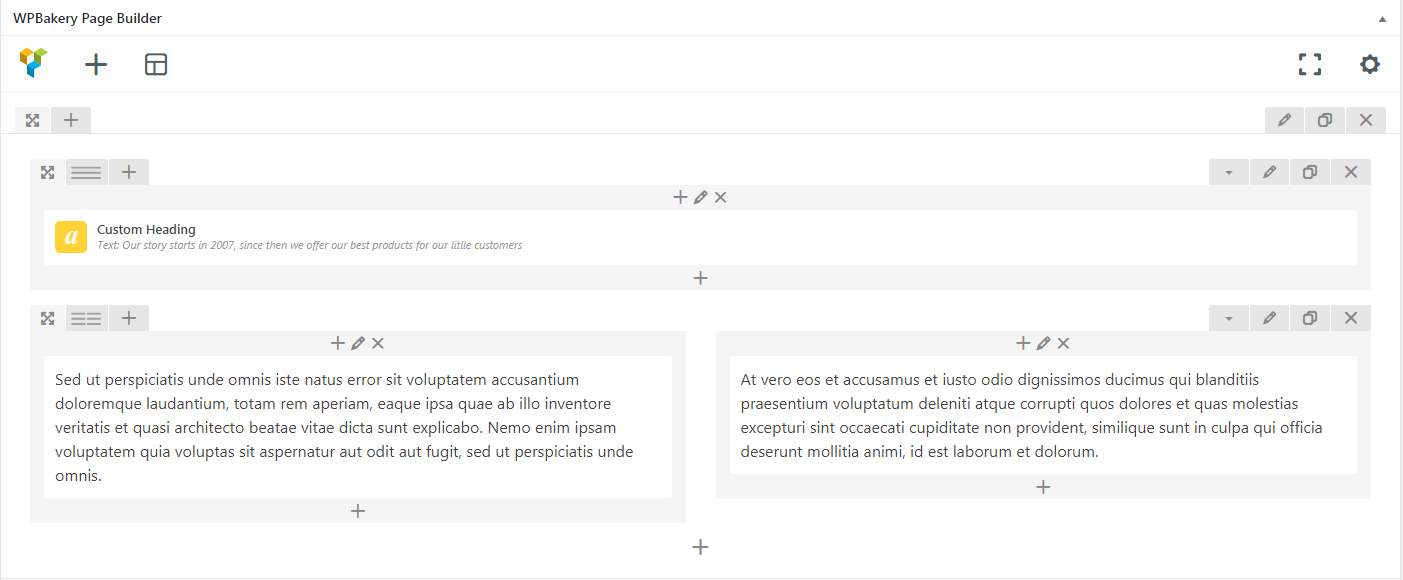
Simply drag and drop elements to build your page content. We prepared components which will help you determine main structure of the webpage – easily set up backgrounds, colors and styles for whole sections as well as lots of various smaller components which you can freely put wherever you want.
Note
As the WPBakery Page Builder plugin used with Fraxinus - WooCommerce WordPress Theme is part of a bundle, that mean that theme author has a license and only he/she can download latest versions of this page builder and include it in the theme. You as a theme user may use WPBakery Page Builder free of charge while you use the theme that came with WPBakery Page Builder (because you have a license for that theme).
Learn more:
For more information about Visual Composer, please check articles below:
How to activate the plugin
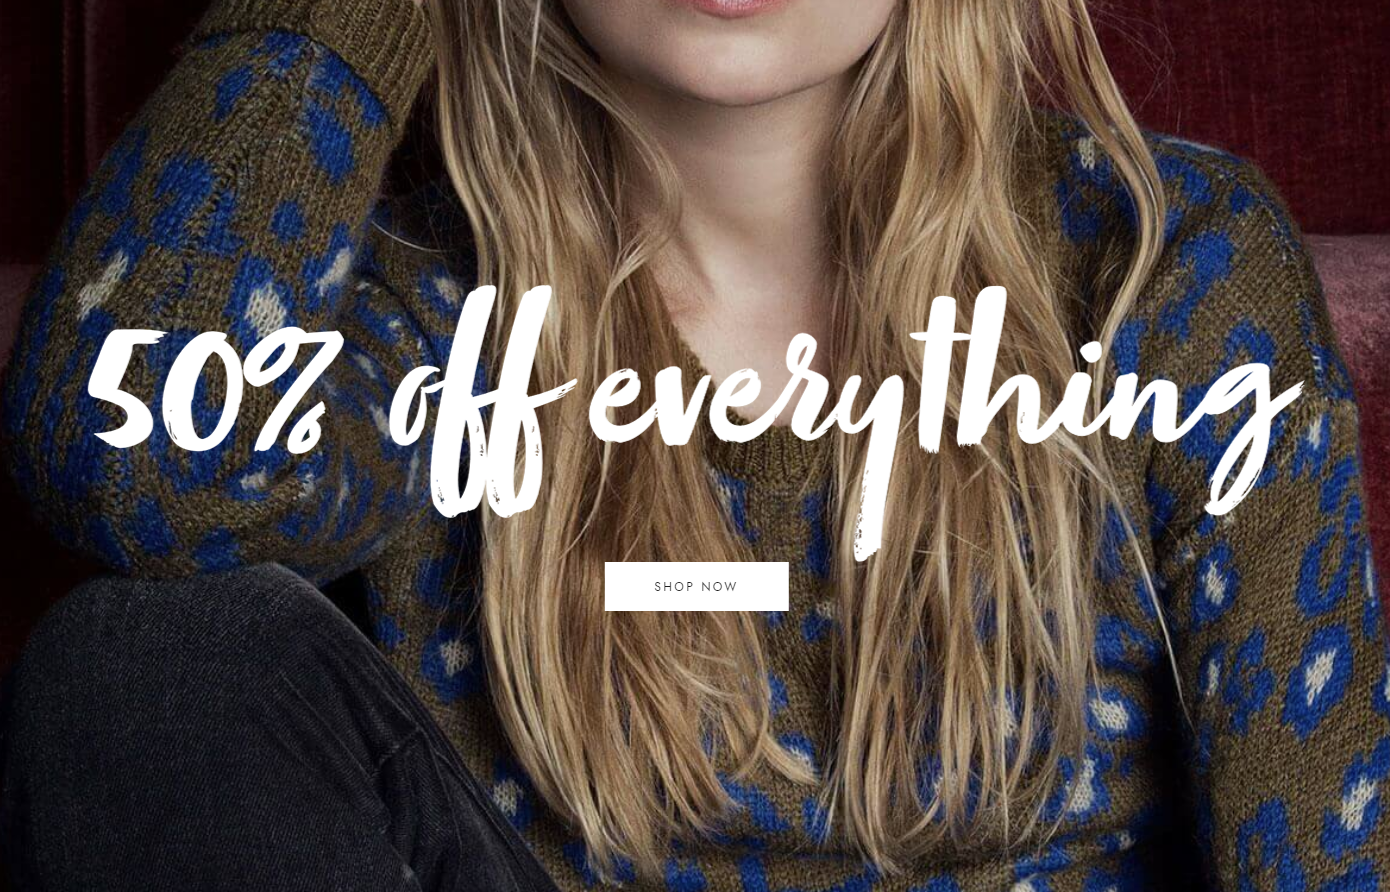
Slider Revolution is included in Fraxinus - WooCommerce WordPress Theme package – so you don’t have to do anything more than click install and activate as you do with other plugins.
If you are new user of the Slider Revolution plugin or you just want to check some of it functionality feel free to check Slider Revolution Documentation created by the authors of this plugin.
Common questions:
Contact forms in Fraxinus - WooCommerce WordPress Theme are created with the use of Contact Form 7 Plugin. Below you will find information how to recreate Contact forms used in our theme by adding the correct markup for the Form section of this plugin.
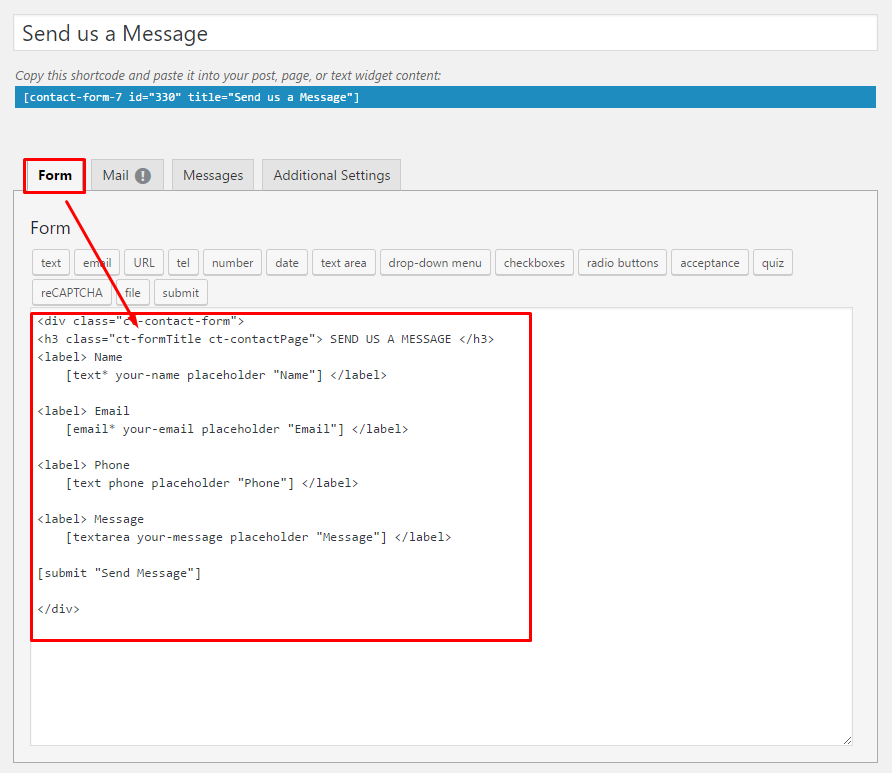
If you never before used this plugin I suggest you to check Getting Started with ContactForm 7. | | WooCommerce ^^^^^^^^^^^
Warning
WooCommerce Variation Swatches or WooCommerce Wishlist Plugin can’t be activate without having working version of WooCommerce plugin in the theme. This plugins will not work and may also create unexpected problems for the theme.
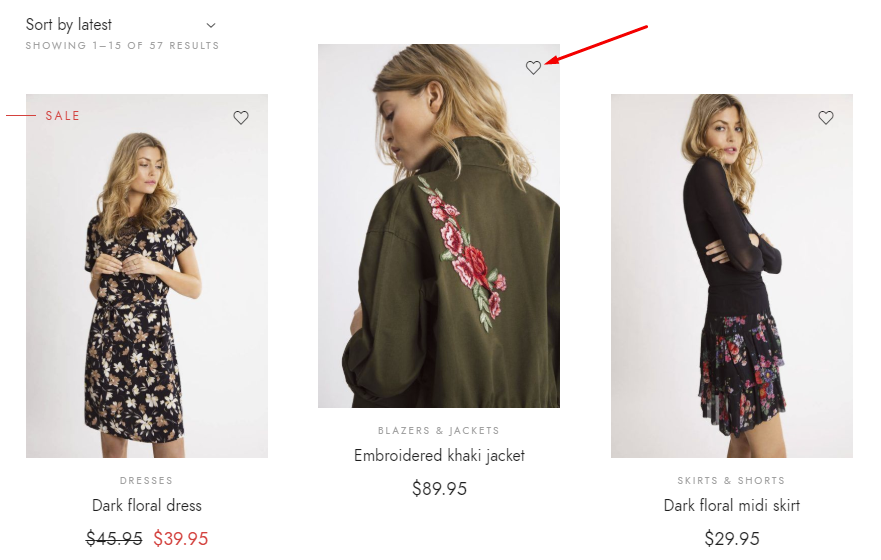
Adding products to Wishlist is easy and convenient so it may also force your customers to buy even more products than they planned.
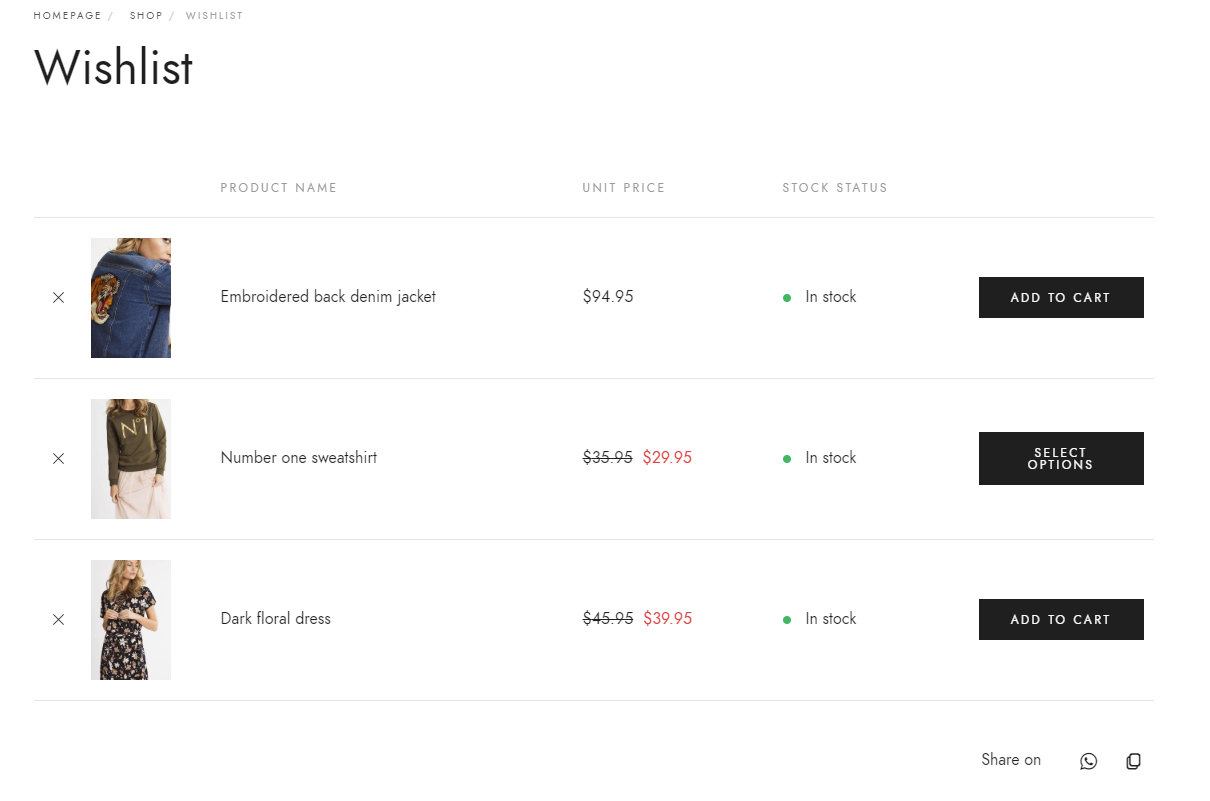
The Wishlist functionality is handled by a free plugin called: WooCommerce Wishlist Plugin by TemplateInvaders
Learn more:
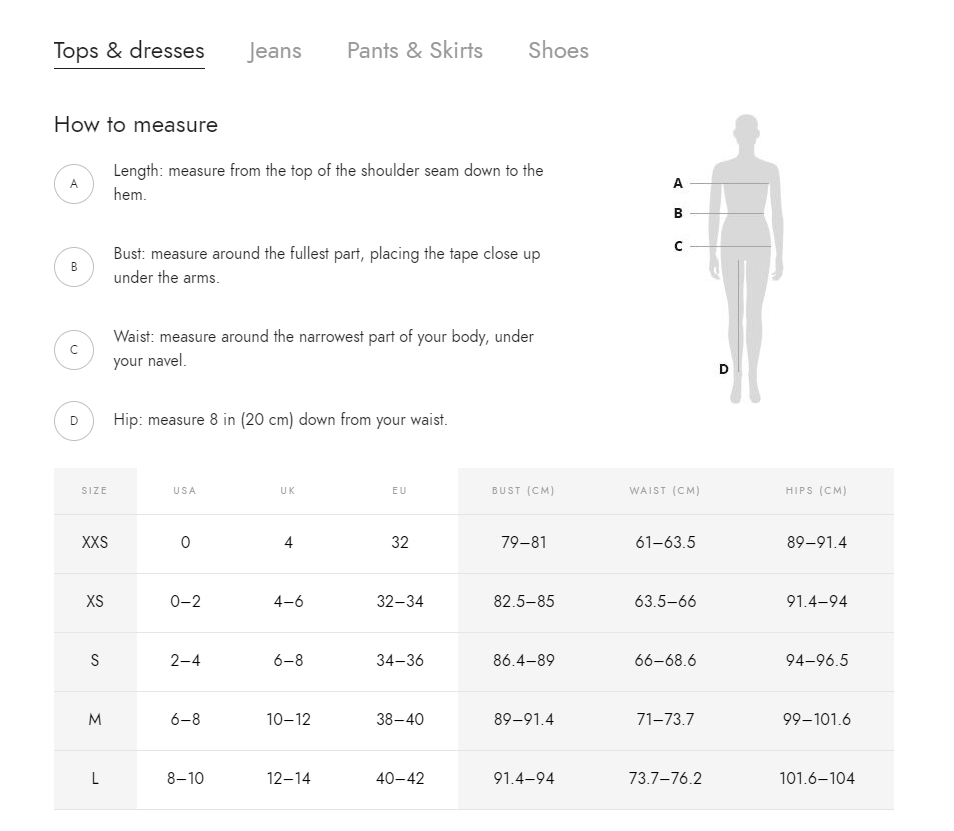
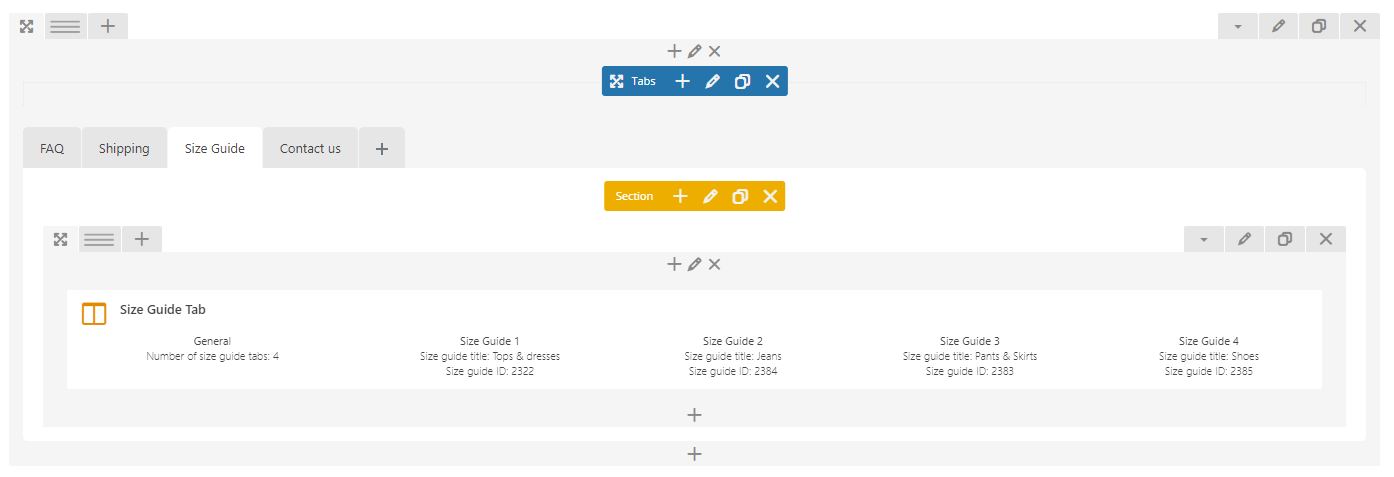
Size Guide Plugin gives your users detailed information about your products. With the provider options, customers will be able to fully understand the product and buy it without making unnecessary questions. Fraxinus also provide an SG shortcode allowing to add the SG to any page you wish to (not only to the single product page).
Front-end
Back-end
Learn more:
WooCommerce Ultimate Discount it’s a plugin which allow to: - Conditional % and Numer Cart Discount - Client Reward System & Loyalty System - Dynamic Cart Info Display and more!
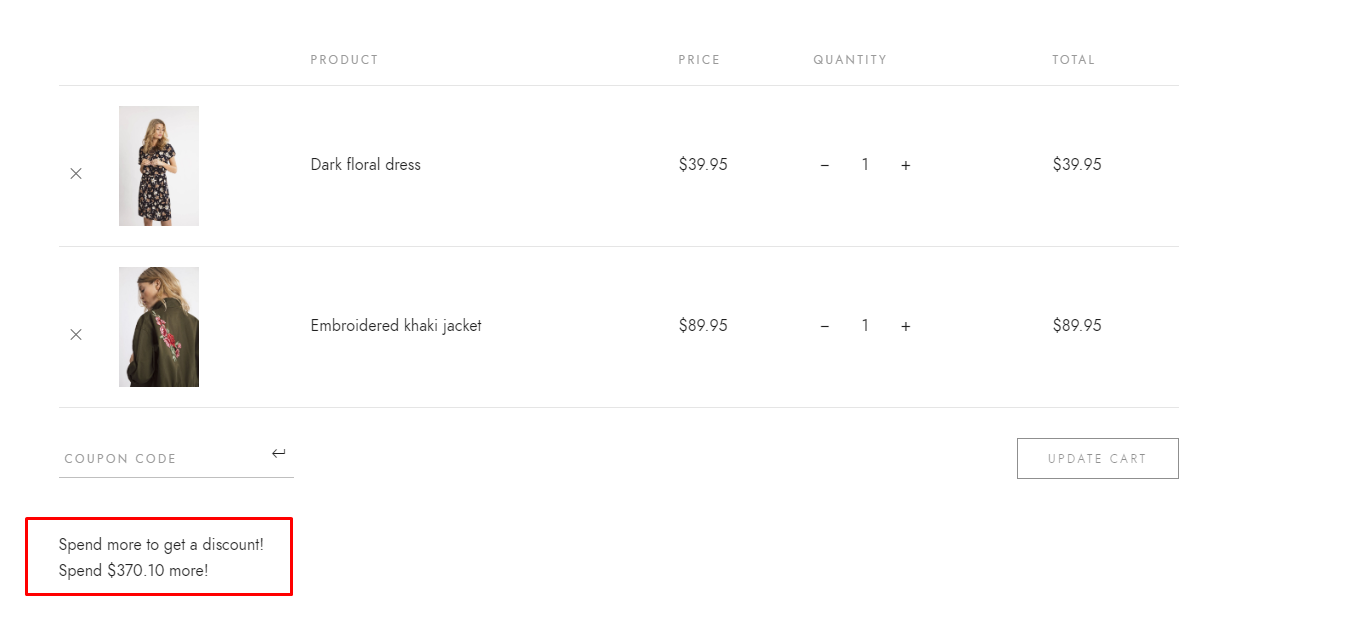
Learn more:
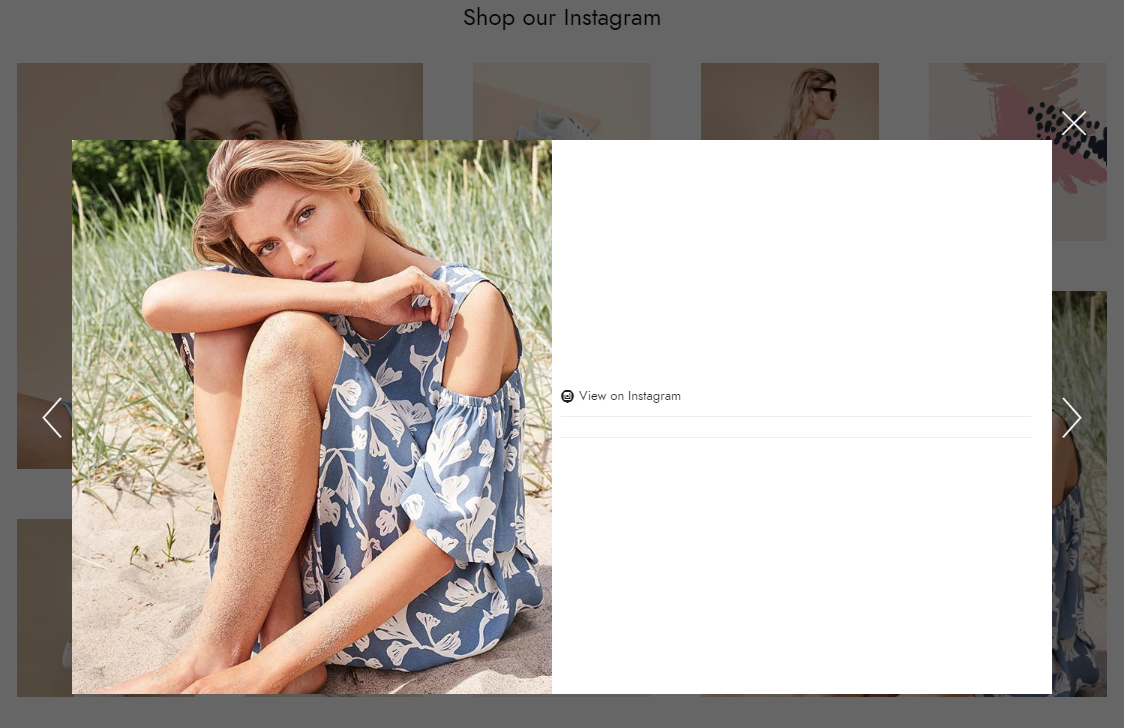
WooCommerce Lookbook allows you to make shop by Instagram and create realistic lookbooks of your products. Your customers can buy products from Instagram images or any images. Help your customers visualize what they are about to purchase from you.
The WooCommerce Lookbook functionality is handled by a free plugin called: WooCommerce LookBook – Shop by Instagram – Shoppable with Product Tags by VillaTheme
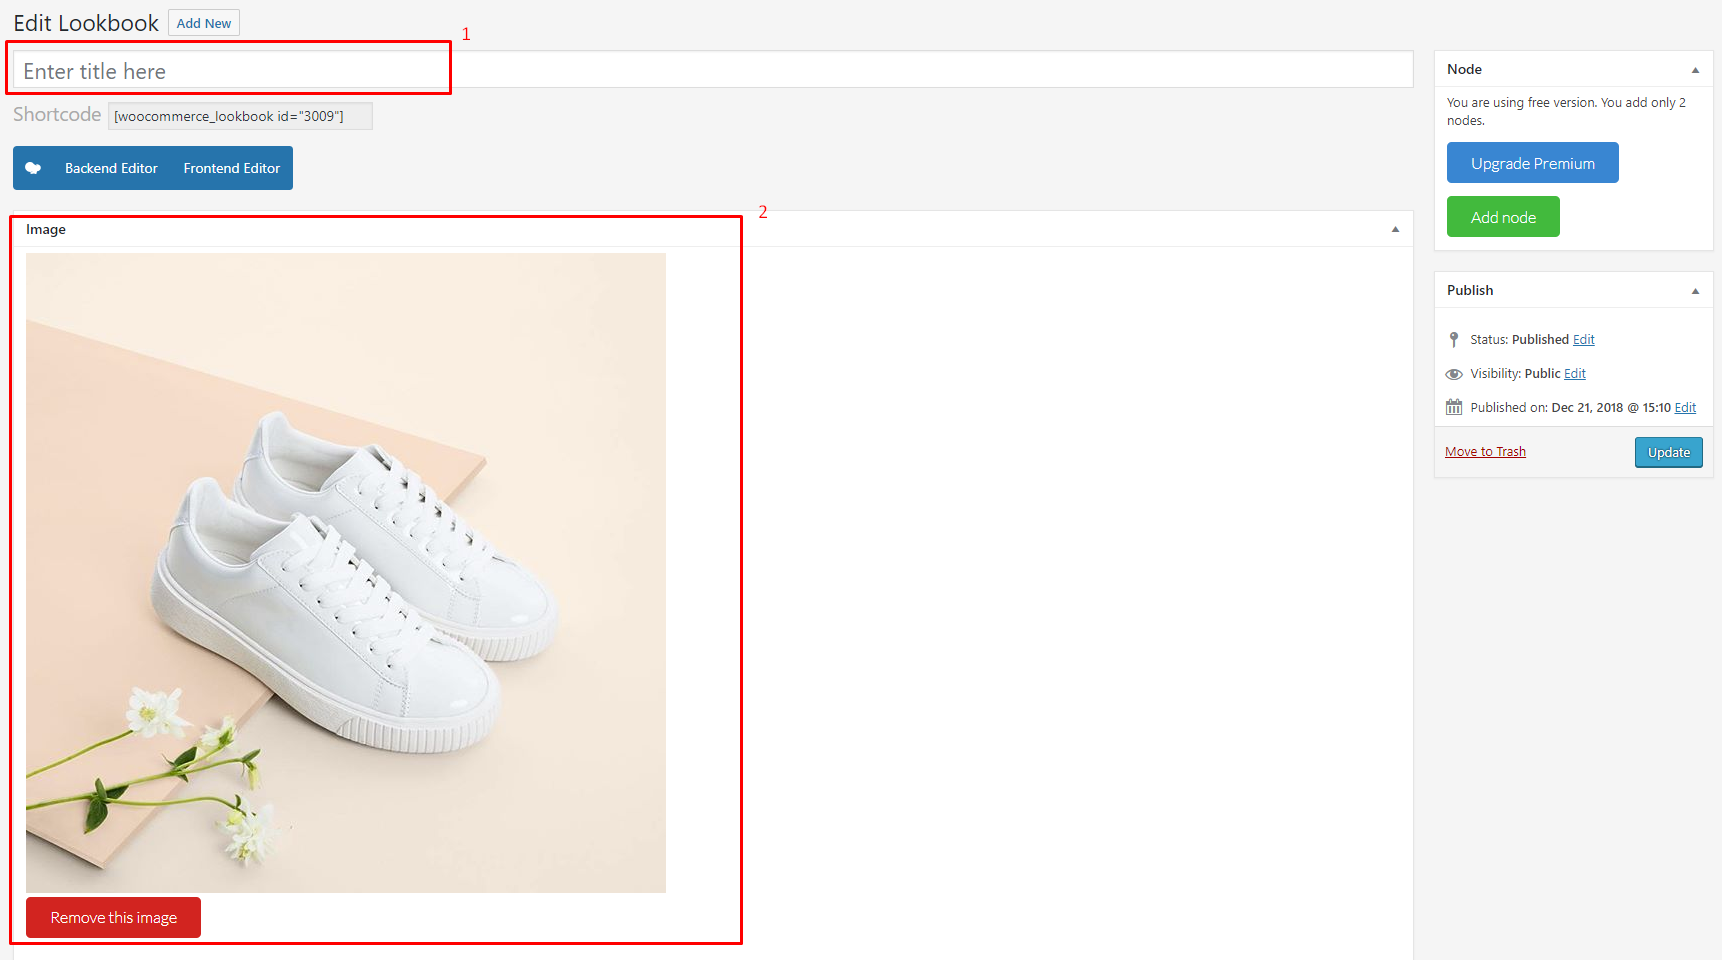
Adding new Lookbook
After the WooCommerce Lookbok pluign will be activated on the site please go to Dashboard > Lookbooks to start using the plugin by editing existing Lookbook or creating new one by clicking Add New option.
There you will be able to:
After adding all this element click Publish visible on the page.
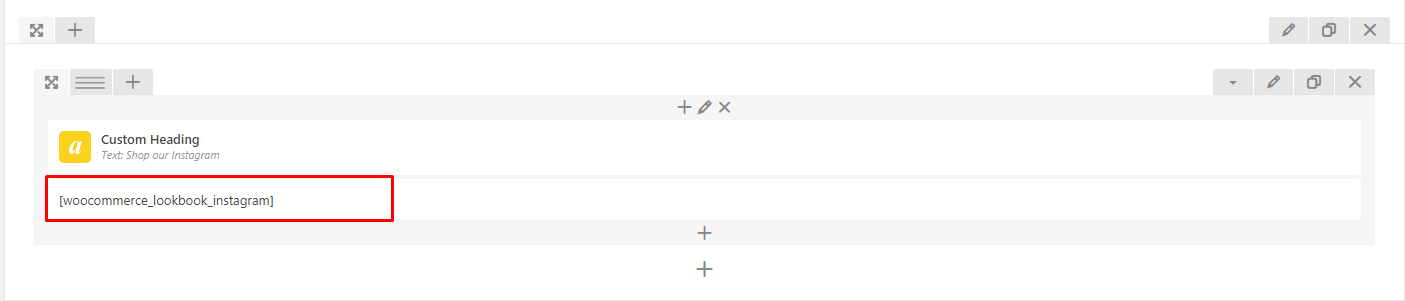
After adding all the items go back to Dashboard > All Lookbooks and By using the provided there: [woocommerce_lookbook_instagram] you can show all of them on your site.

Front-end
Back-end
Learn more:
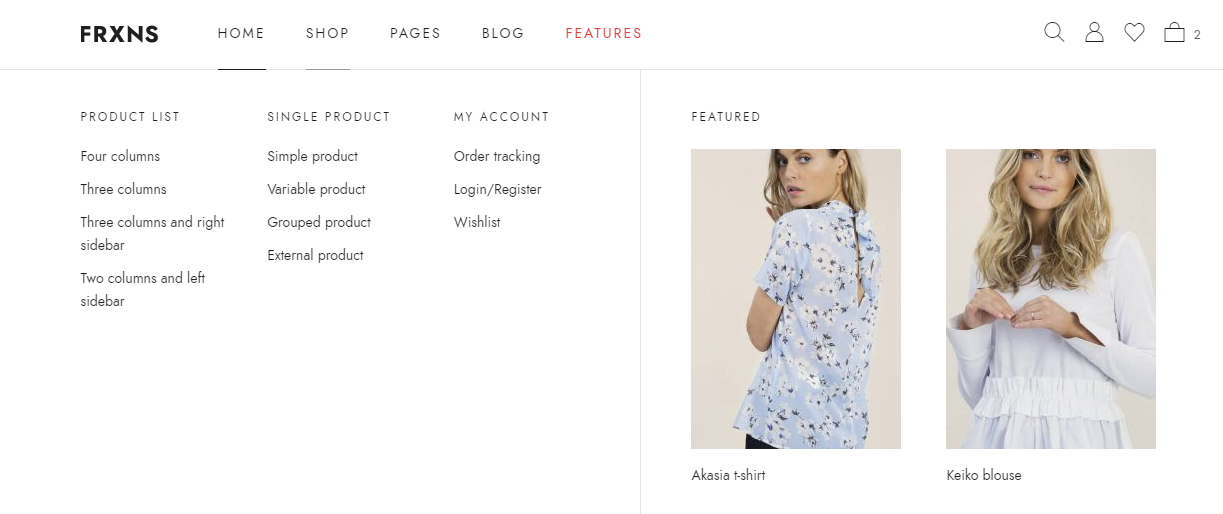
Max Mega Menu is a complete menu management plugin, perfect for taking control of your existing menu and turning it into a user-friendly, accessible and touch ready menu with just a few clicks.
Learn more:
Allowing your visitors to subscribe to your newsletter should be easy. With this plugin, it finally is. This plugin helps you grow your MailChimp lists and write better newsletters through various methods.
The MailChimp for WordPress functionality is handled by a free plugin called: WooCommerce MailChimp for WordPress by ibericode
Learn more:
Display Instagram posts from your Instagram accounts, either in the same single feed or in multiple different ones. Instagram Feed functionality is handled by a free plugin called: WooCommerce Instagram Feed by Smash Balloon

Setting up the Instagram Feed WordPress Plugin (free version)
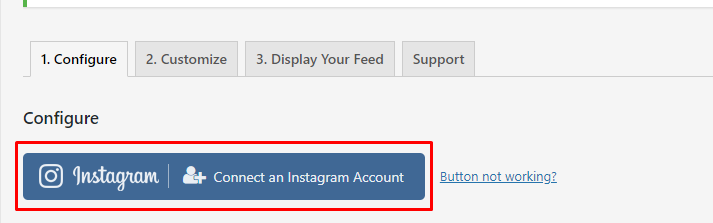
After the pluign is installed and activated please follow the steps below:
Go to Dashboard > Instagram Feed and click on the large blue button to connect your Instagram account.
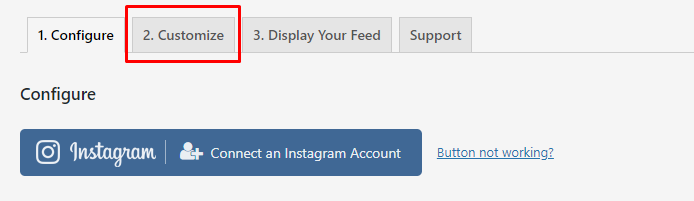
Navigate to the Customize page to customize your feed.
Once you’ve customized your feed, copy the [instagram-feed] shortcode into any page, post or widget where you want the feed to appear.
Learn more:
Note
To be able to use theme content installation and backup functionality make sure to activate Backup & Demo Content Unyson’s extension.
The fastest and easiest way to import our demo content is to use Theme Options Demo Content Installer. It will import all pages and posts, sample slider, widgets, theme options, assigned pages, and more.
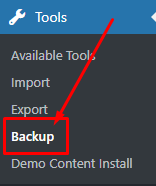
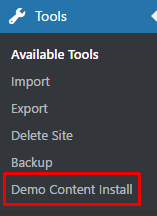
Step 1 – navigate to Tools where after activating the Unyson extansion Demo Content Install option will be available
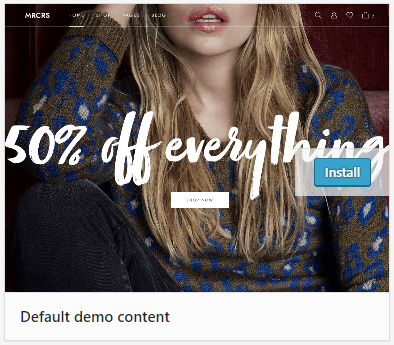
Step 2 – choose import option you want to use from available options
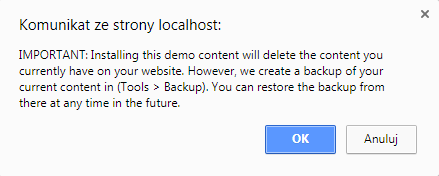
Step 3 - To be able to continue you need to agree to this term.
Step 4 – Wait until the content will be installed
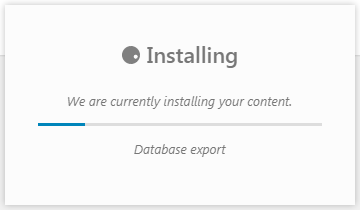
Importing can take a few minutes. Please be patient and wait for it to complete. Once it will be loading, you will see message with indicating progress.
We recommend this approach on a newly installed WordPress. It will replace the content you currently have on your website. However, we create a backup of your current content in (Tools > Backup). You can restore the backup from there at any time in the future.